Family Post: Meet Cabella the Doberman

Hello again! It has been forever since I have posted, and it is quite sad! With the addition of a puppy and my grad classes getting harder my poor blog has suffered! But I plan to do a video house tour soon and hopefully more posts.

Well if you’re not interested in dogs, or just like home posts (like myself) you may want to skip this one. Picture overload!

We decided to adopt a female Doberman puppy from a breeder in Raleigh NC. I grew up with Dobermans and always loved the breed. Contrary to popular belief, they are wonderful family dogs and the aggressive ones that you may have seen are only trained to be aggressive; like any other dog. They are a powerful breed which is much different than an aggressive or dangerous dog.

Raising Cabella has not been easy, there have been many frustrating times and long, long nights. However, having her around brings excitement to our household for sure! Training an active dog with no fenced in yard is so difficult! Actually as i’m writing I just had to stop her from chewing up her fourth bed :(. But we see it as good training for children! Anyway onto the pictures!

We adopted (bought) her in March at about 8 weeks old. We did our research on how to choose the right puppy, but apparently Cabella was more lethargic than usual on that particular day haha.

IMG_0544

We’re not sure which one she is or if she’s in the picture but it was a litter of 10 pups.

IMG_0545

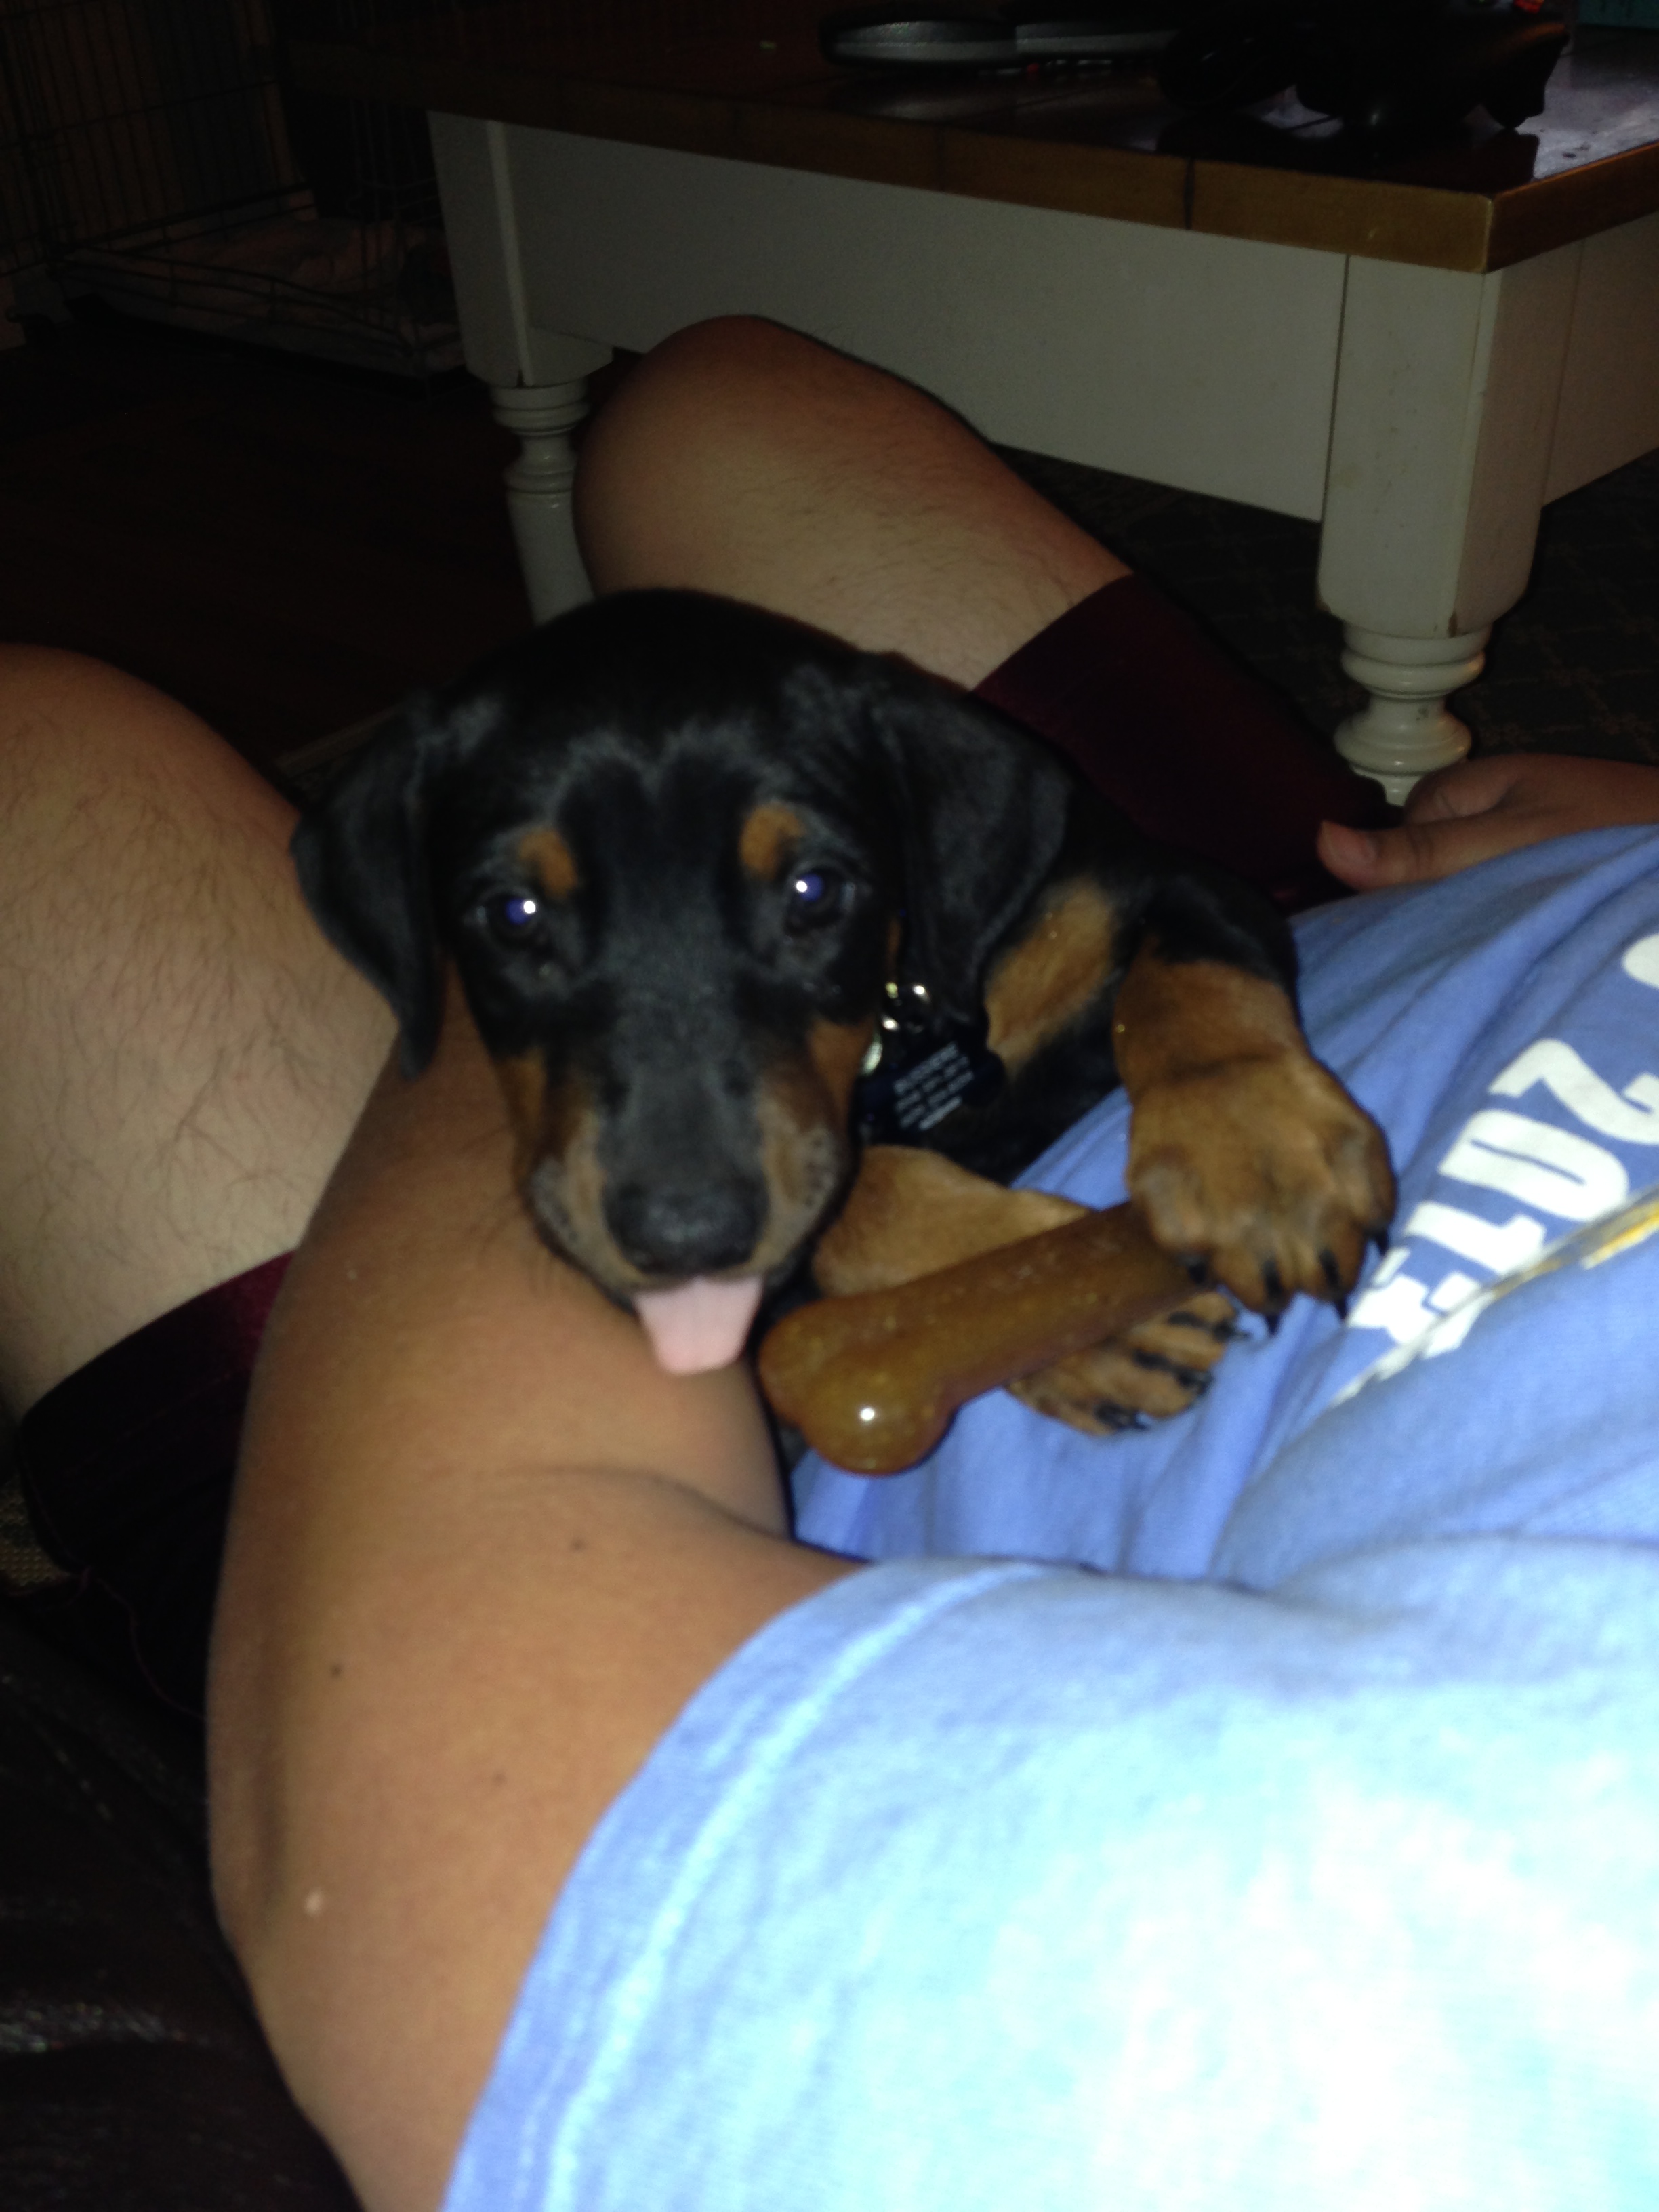
She was so sweet the first day we got her, very shy too!

IMG_0565 IMG_0578 IMG_0585 IMG_0588 IMG_0594 IMG_0605

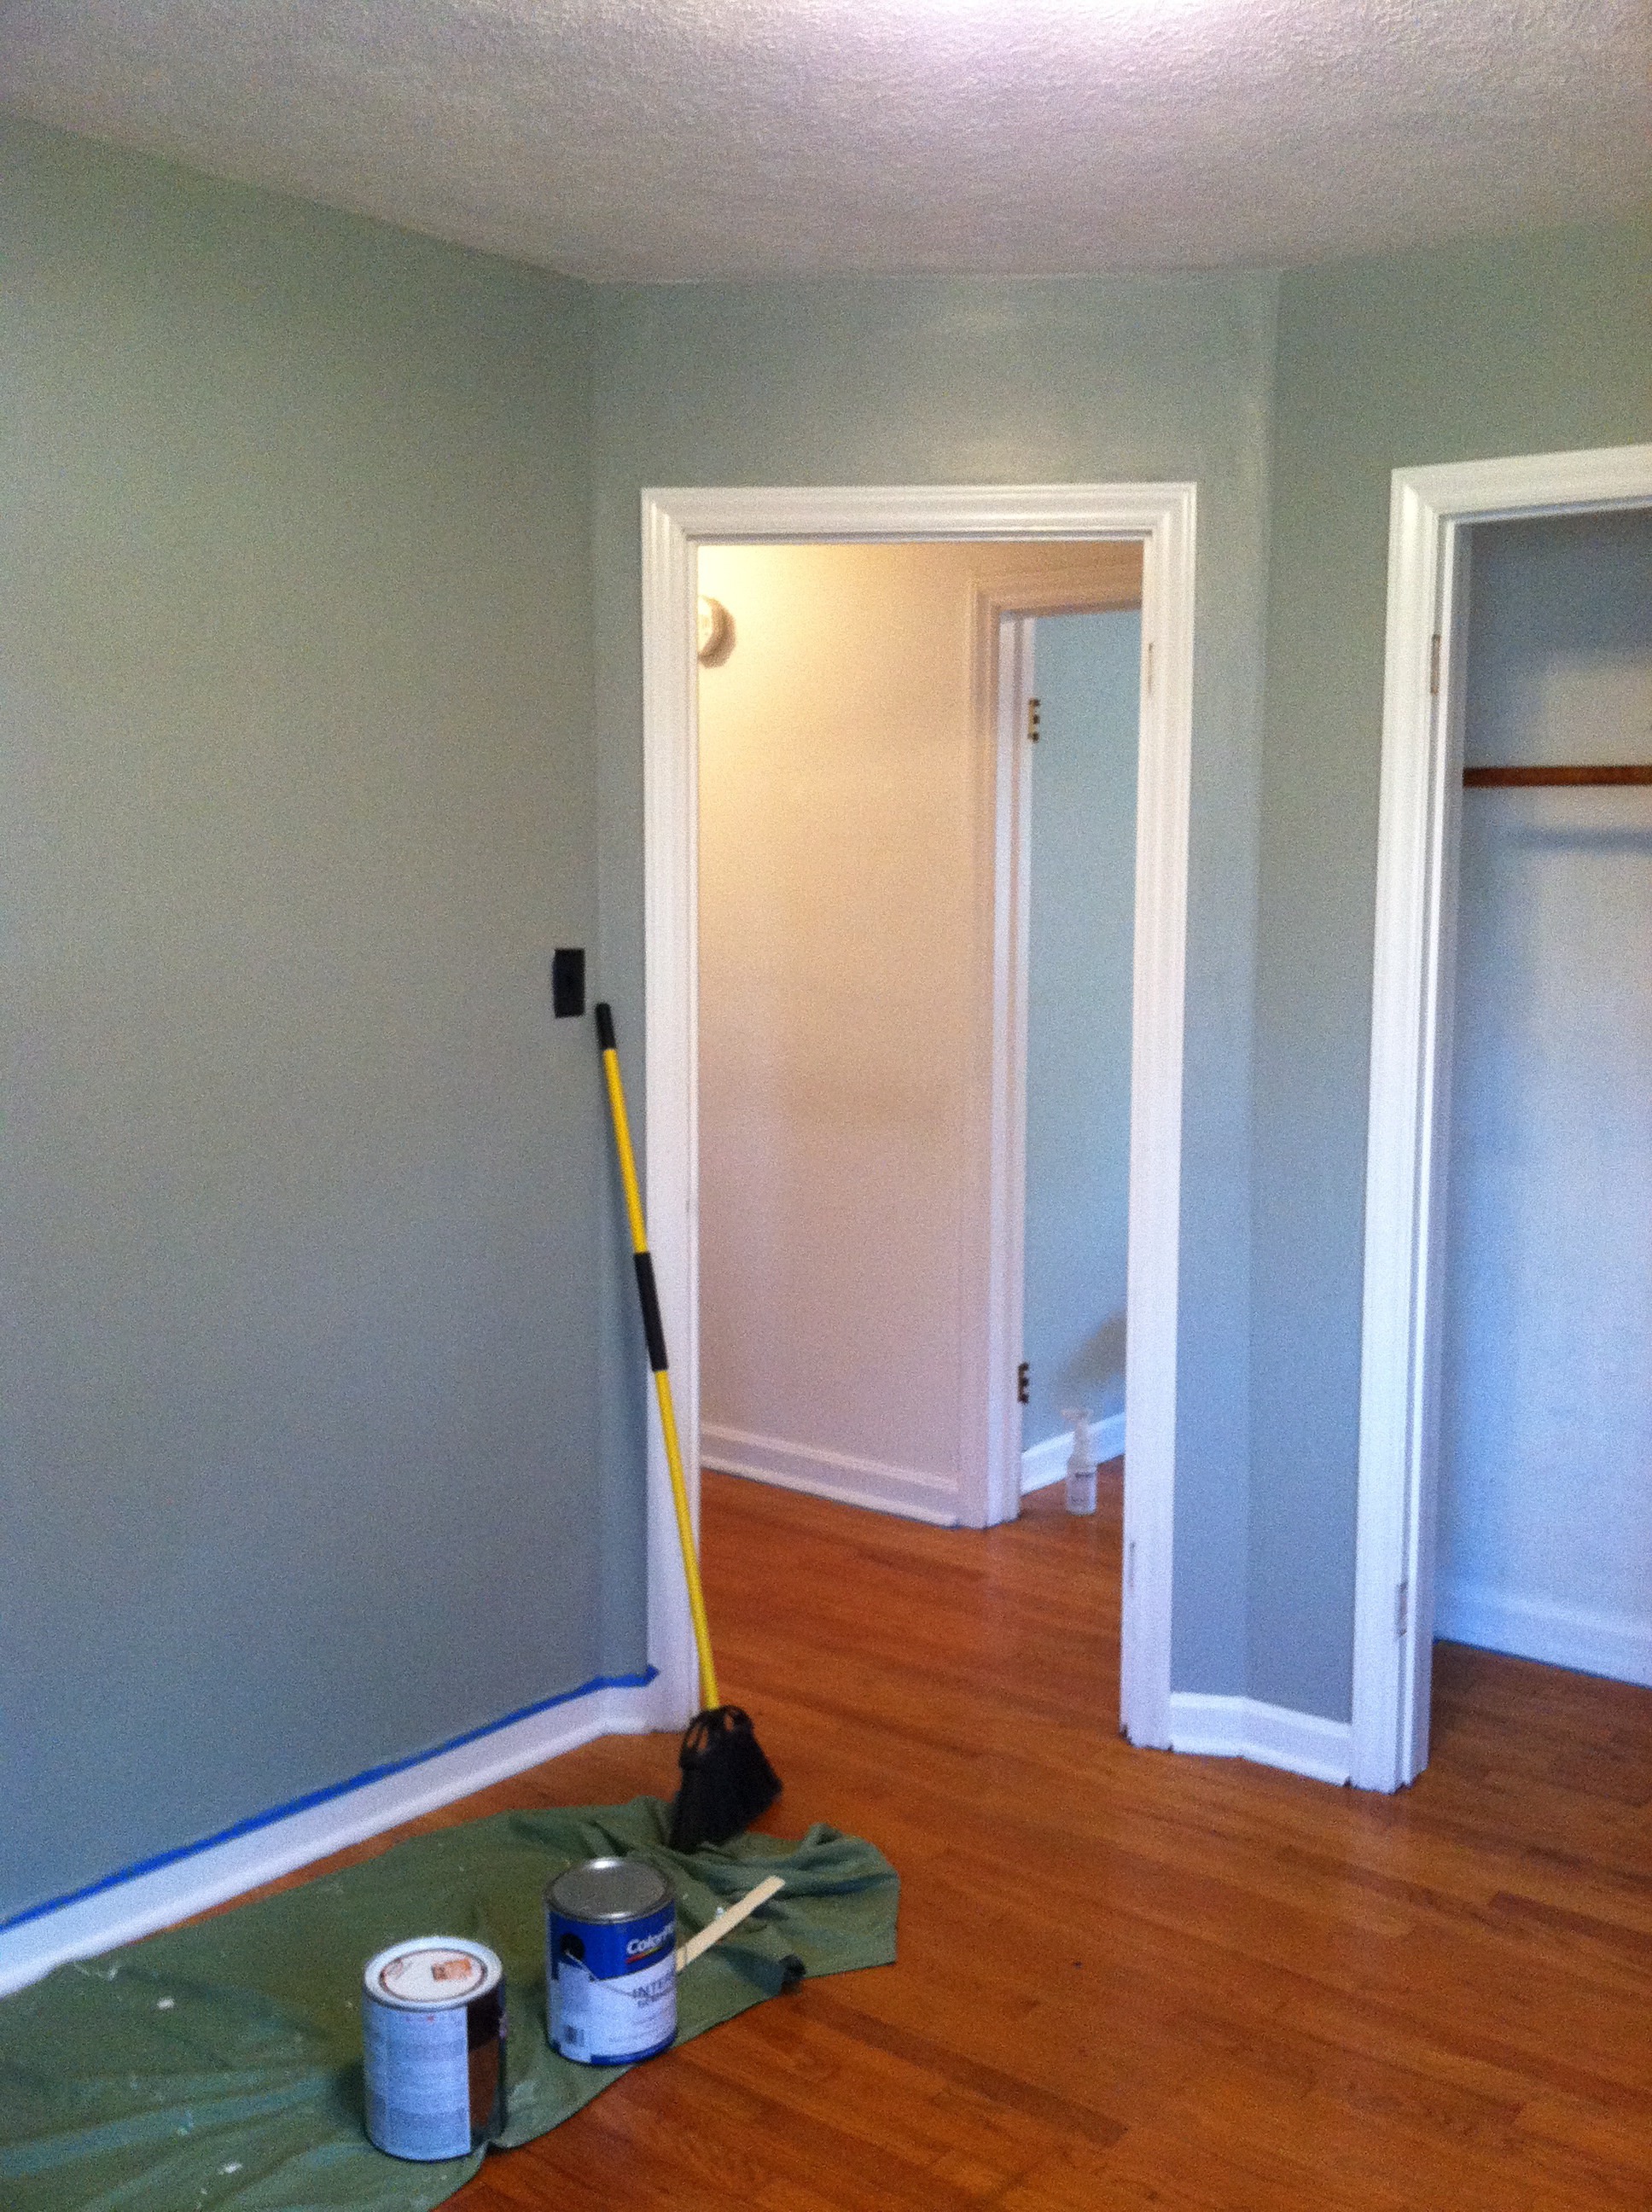
Cabella supervised many house projects.

IMG_0402

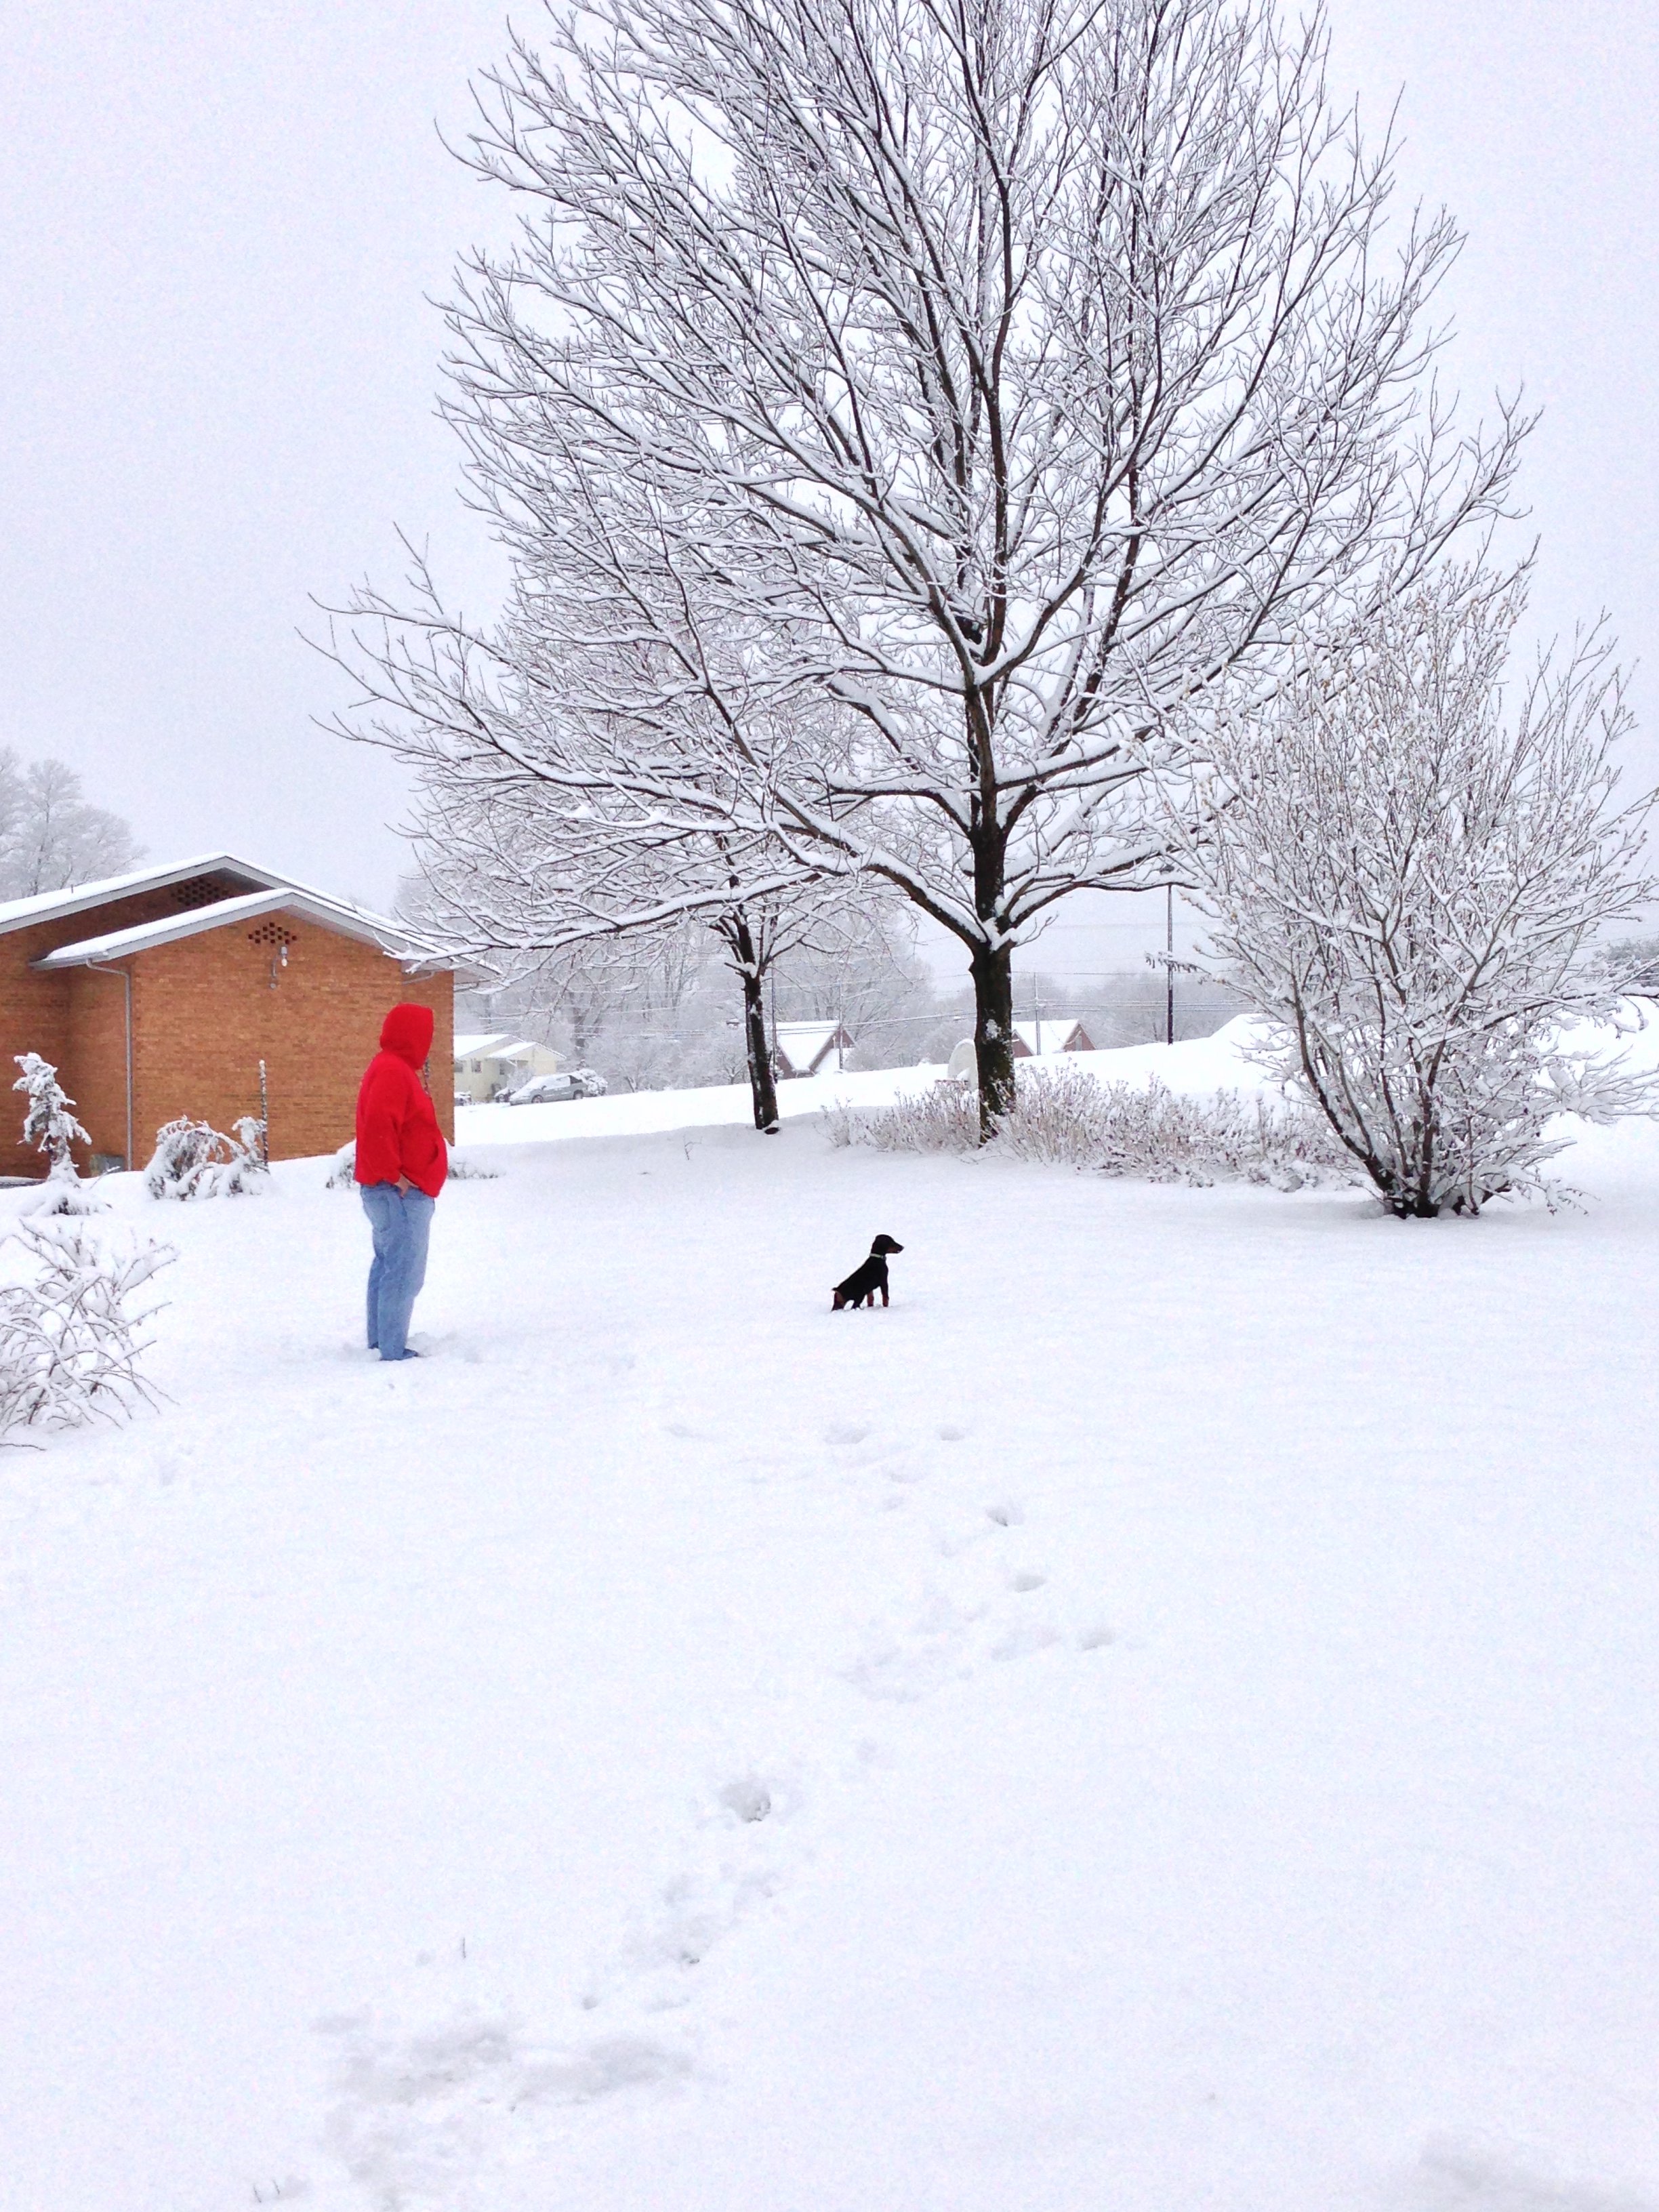
Her first snowfall! This picture was taken the day after the previous one, shorts and all! This was also before we had to have her on a leash all the time since we could still catch her.

IMG_0440

After about 2 weeks of having her in our home, her legs started to bow out.

IMG_0638

This picture really shows how bad her front legs became. After speaking with our Vet and a few others that have raised large breed dogs (thanks Mom and Nana!) we found that it was a culmination of a few different things. We only had hardwood and laminate floors, it was still winter so she was not getting enough Vitamin D (sun), and her bones were growing faster than her ligaments. So after putting down some carpet, getting her outside more, and giving her light pain medication they eventually straightened out.

IMG_0644I am so thankful to have a job that allows me to work from home, because of that I am able to travel a little more. At 9 weeks I took Cabella down to visit Papa and Nana Terhune in Florida. She definitely got her Vitamin D down there!IMG_0699At a fair with Aunt VictoriaIMG_0726Cabella’s favorite napping spot :), right in Papa’s lap!

IMG_0466IMG_0737This picture is special because it is the last one taken before her ear surgery. She looked much less like a puppy after this!  IMG_0801She came home looking a little sad but incredibly funny. It was hard not to laugh at the poor puppy. IMG_0816I stayed up all night with her the night after the surgery, all she wanted to do was scratch (and yes that is painter’s tape as a reinforcement haha).IMG_0828 IMG_0904 IMG_0916
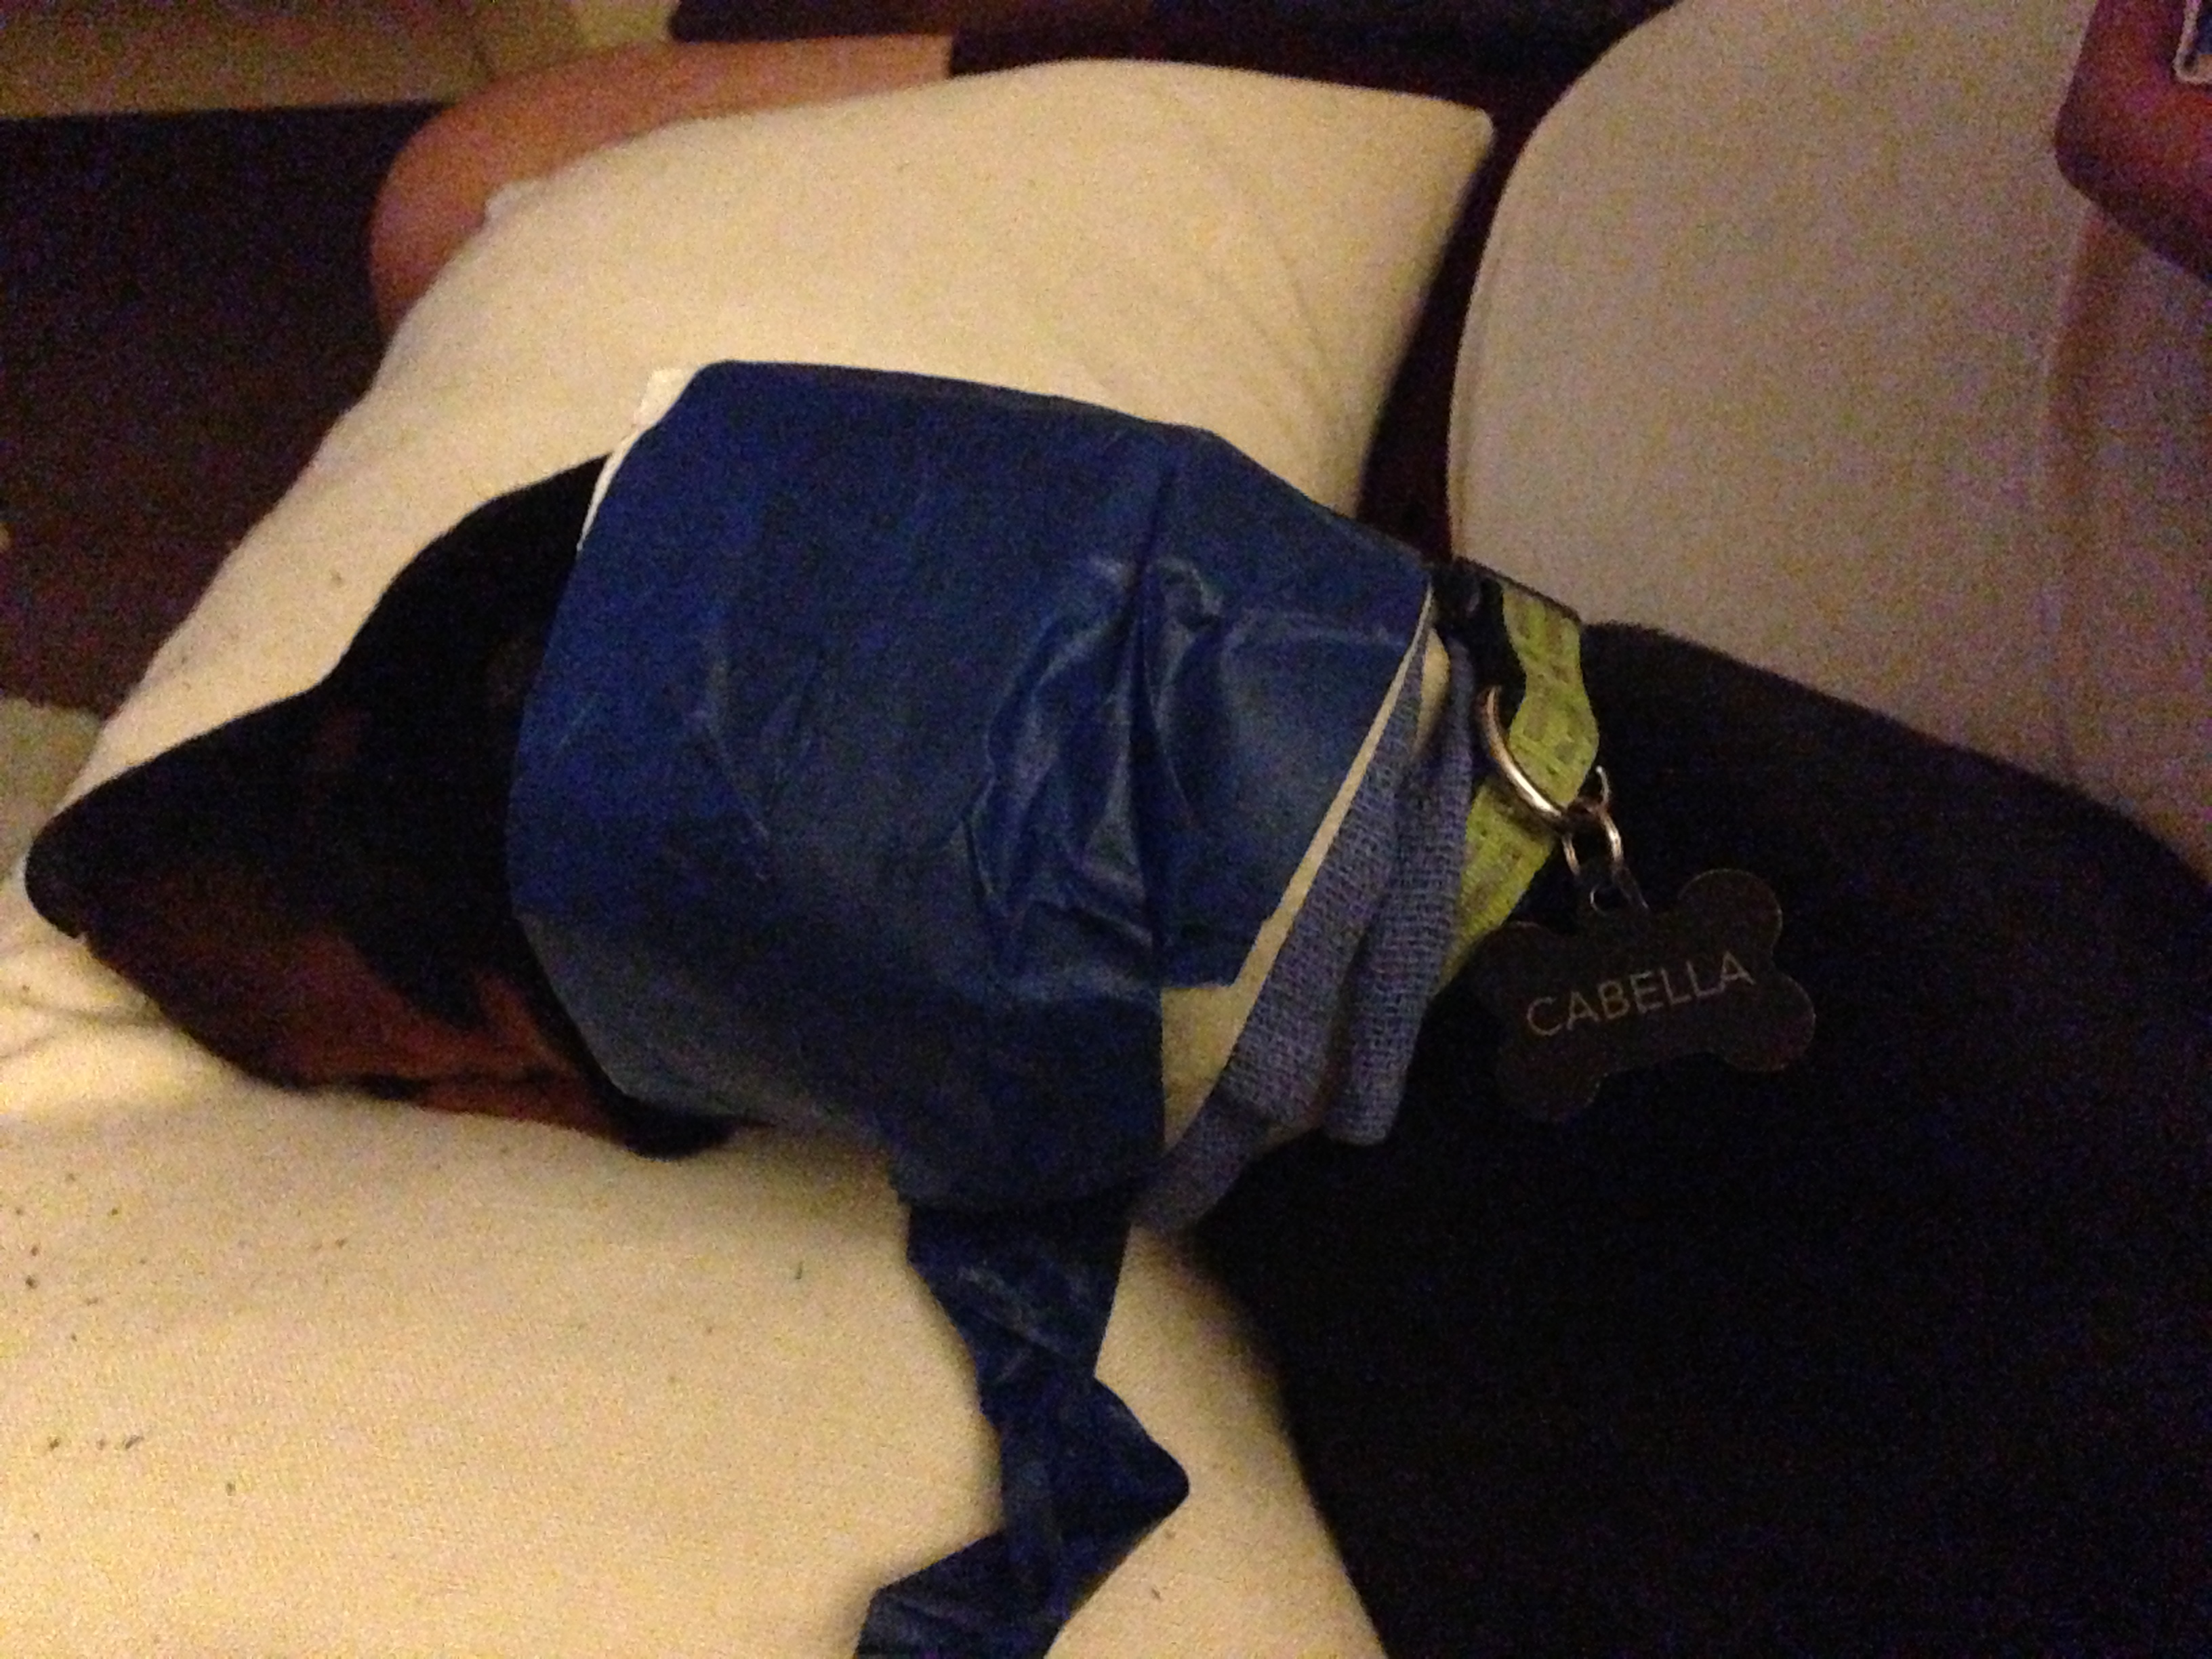
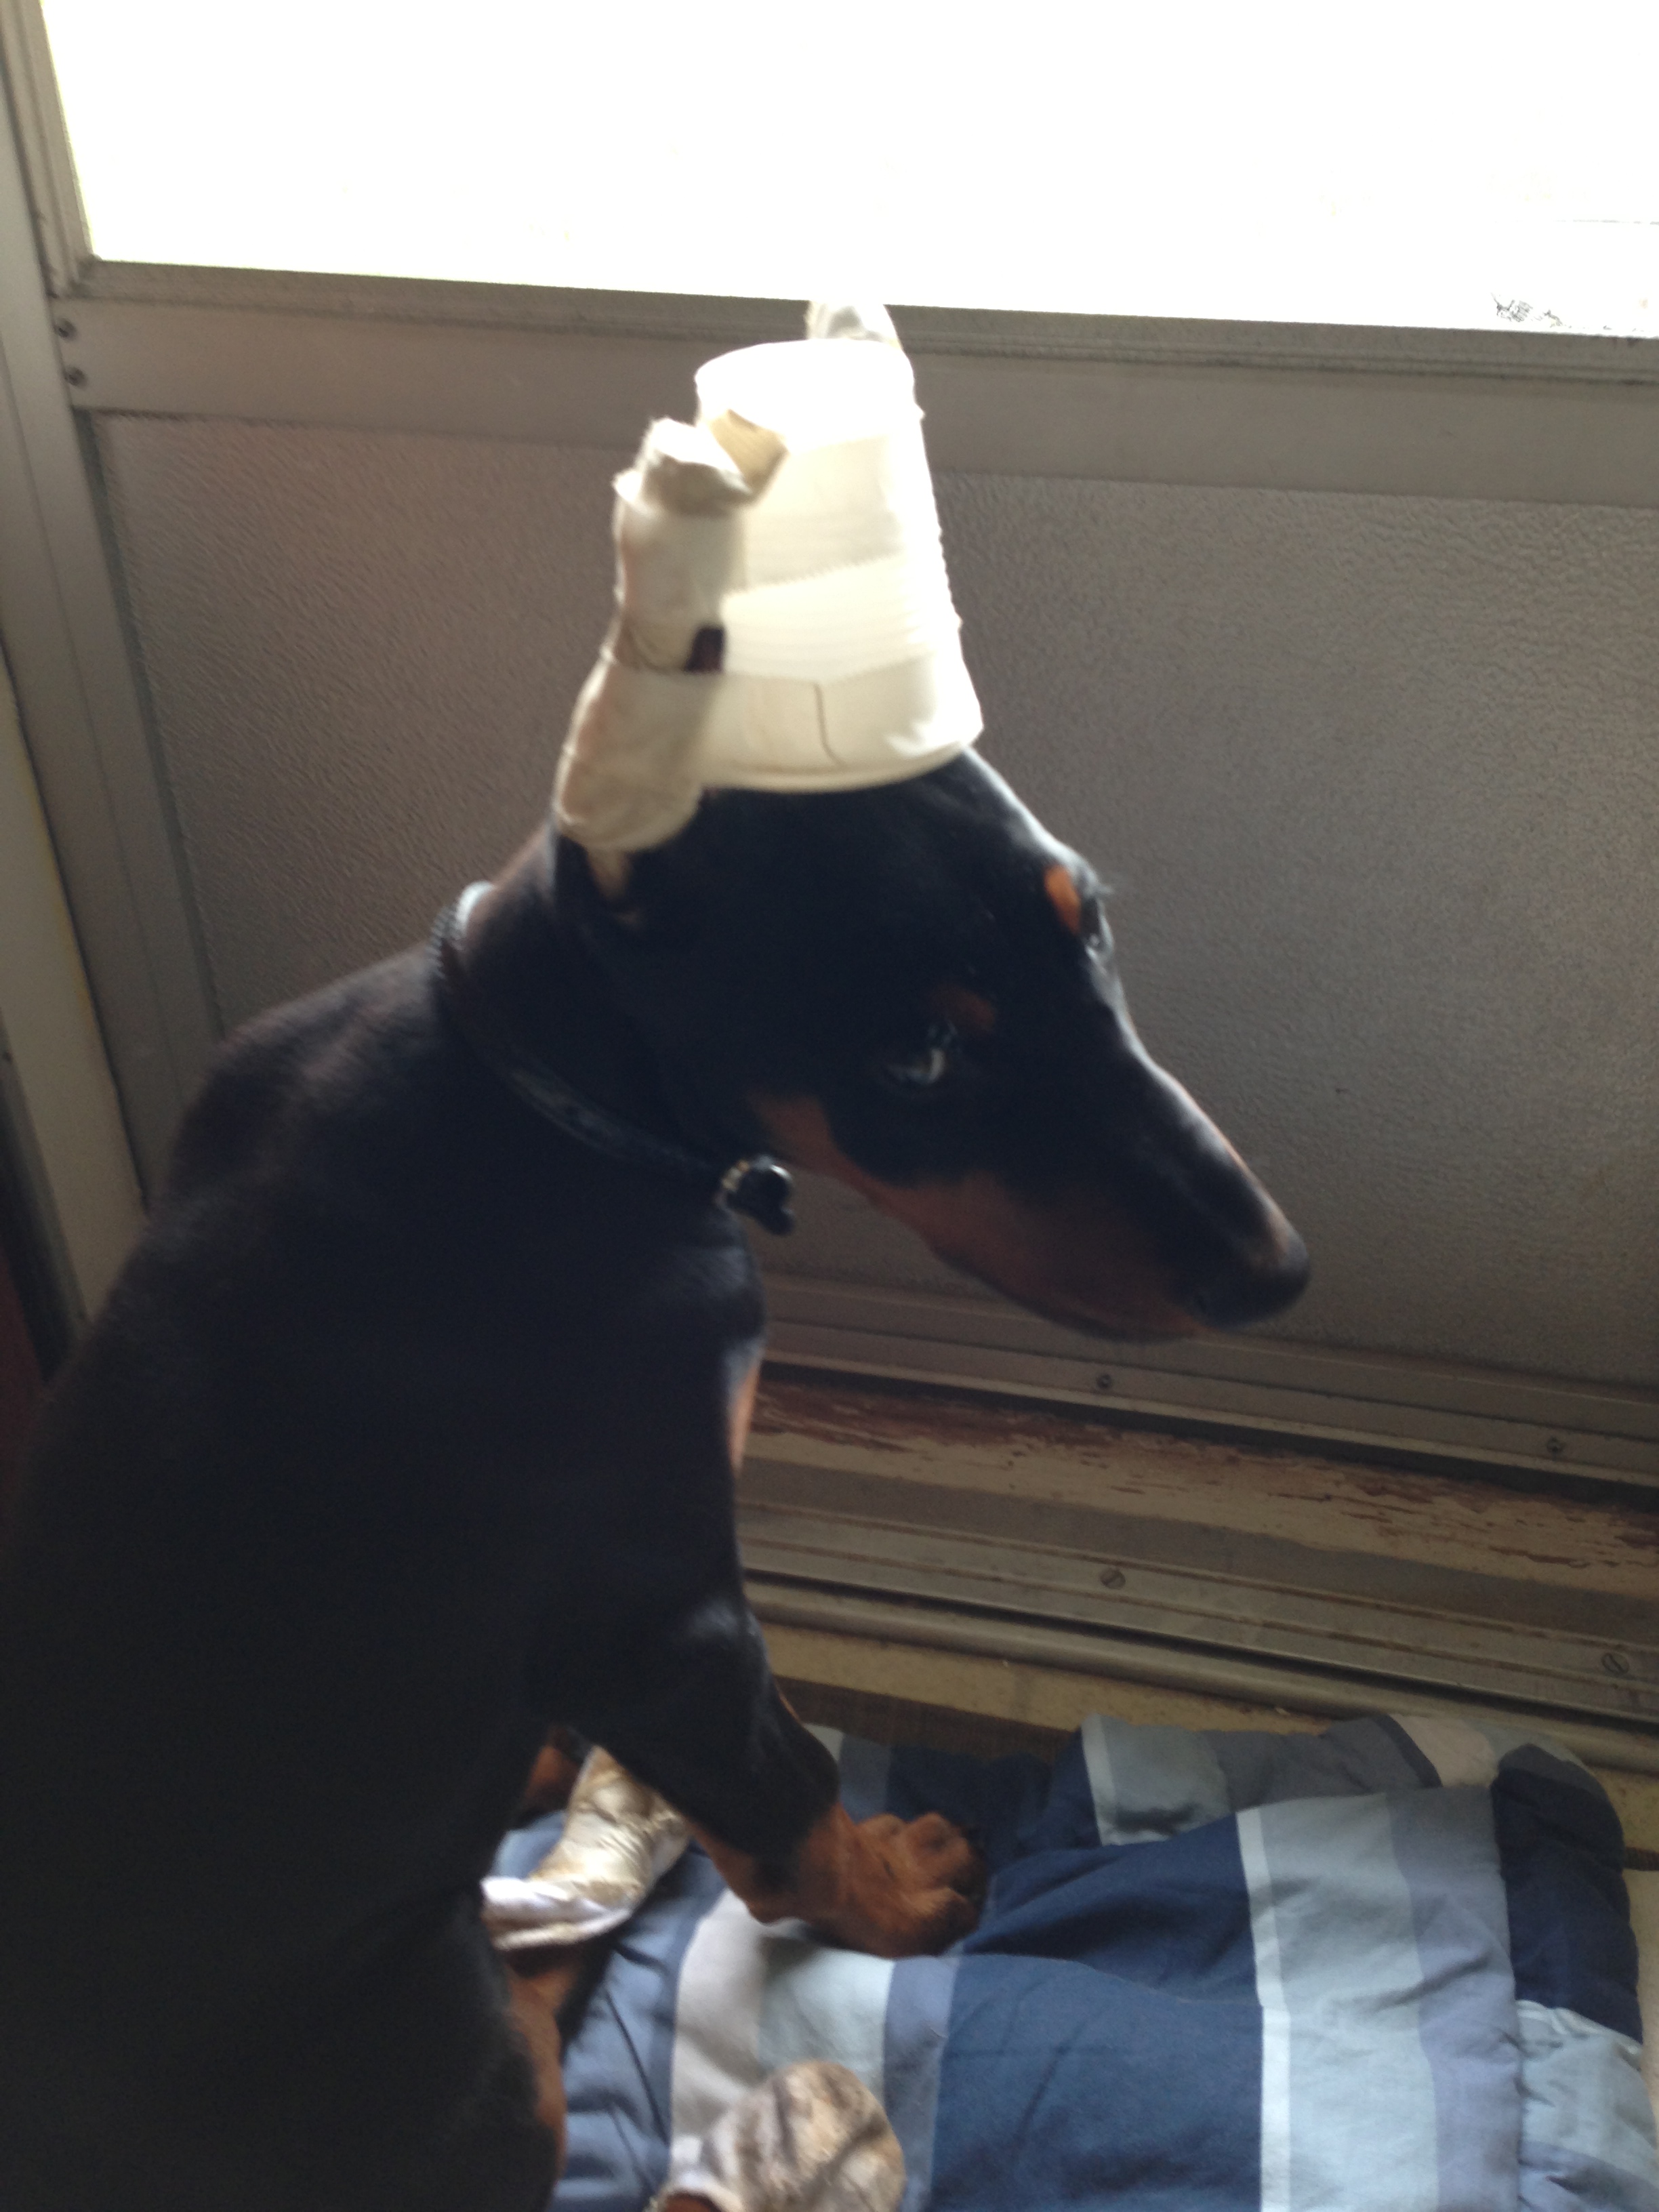
First posting! And she did not like it!
IMG_0928
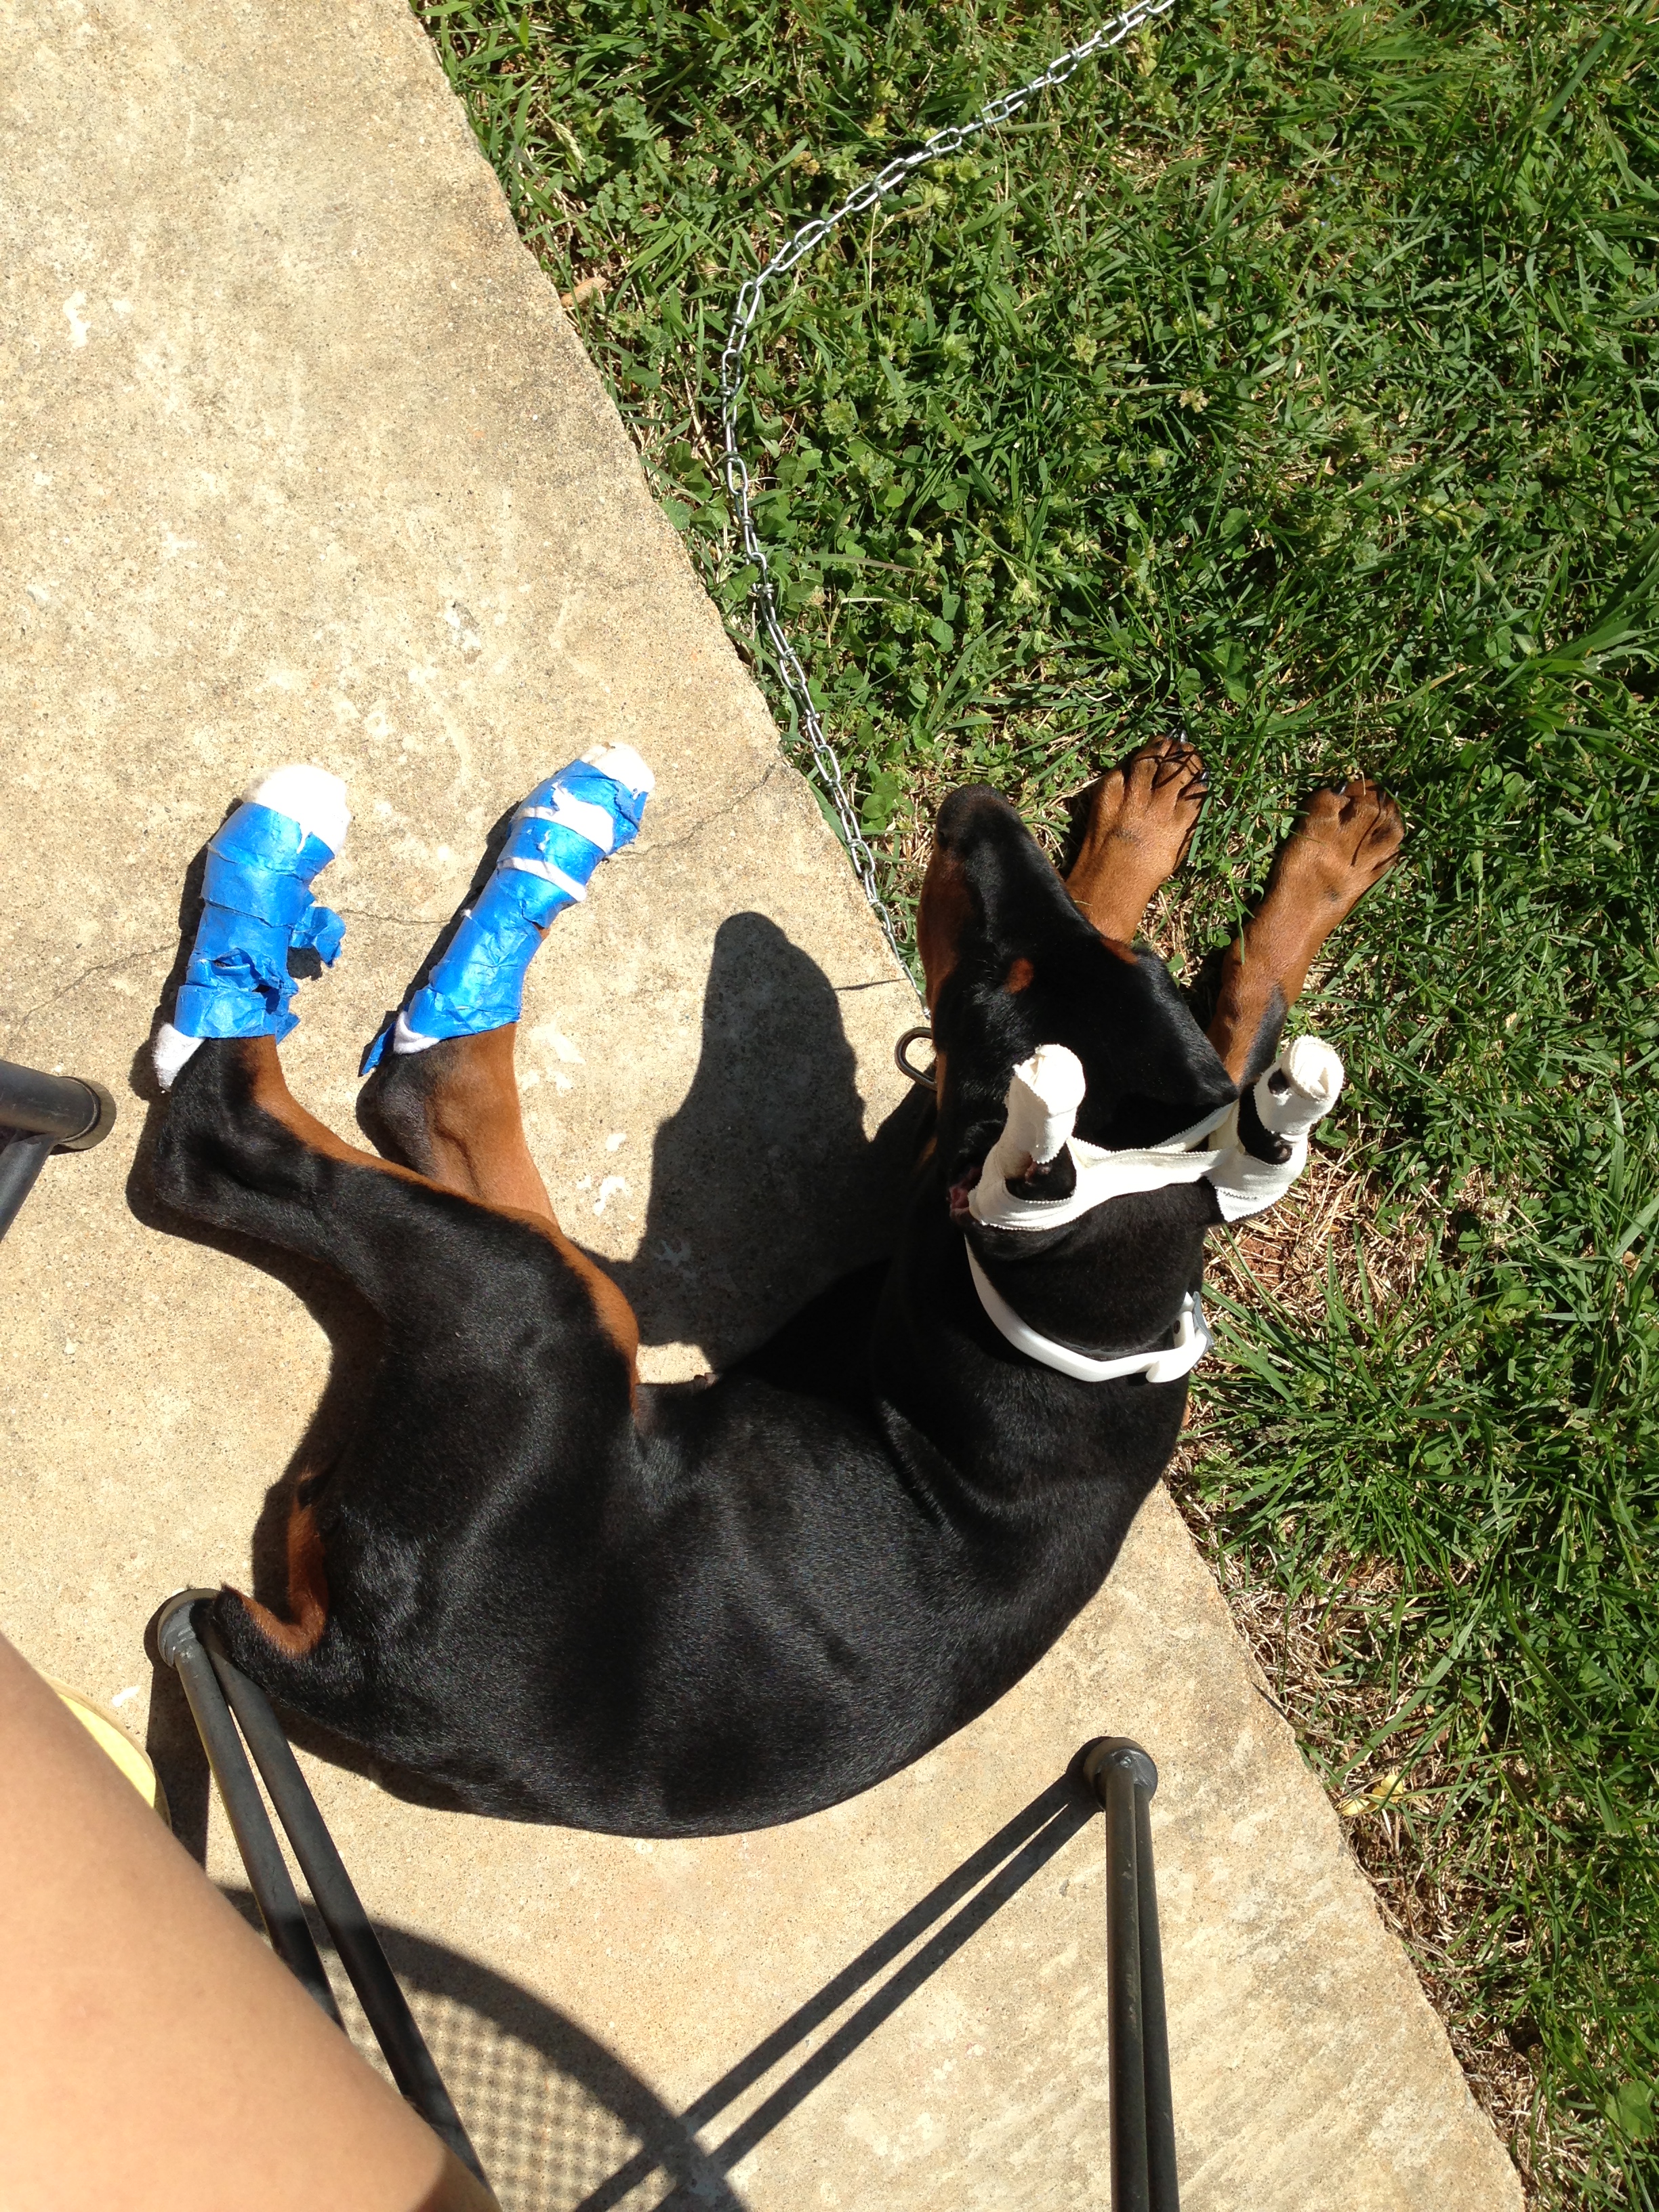
We taped socks to her back feet to help distract her from her postings, but as you can see that did not last long. Cute though!IMG_0946 IMG_0952 IMG_0988
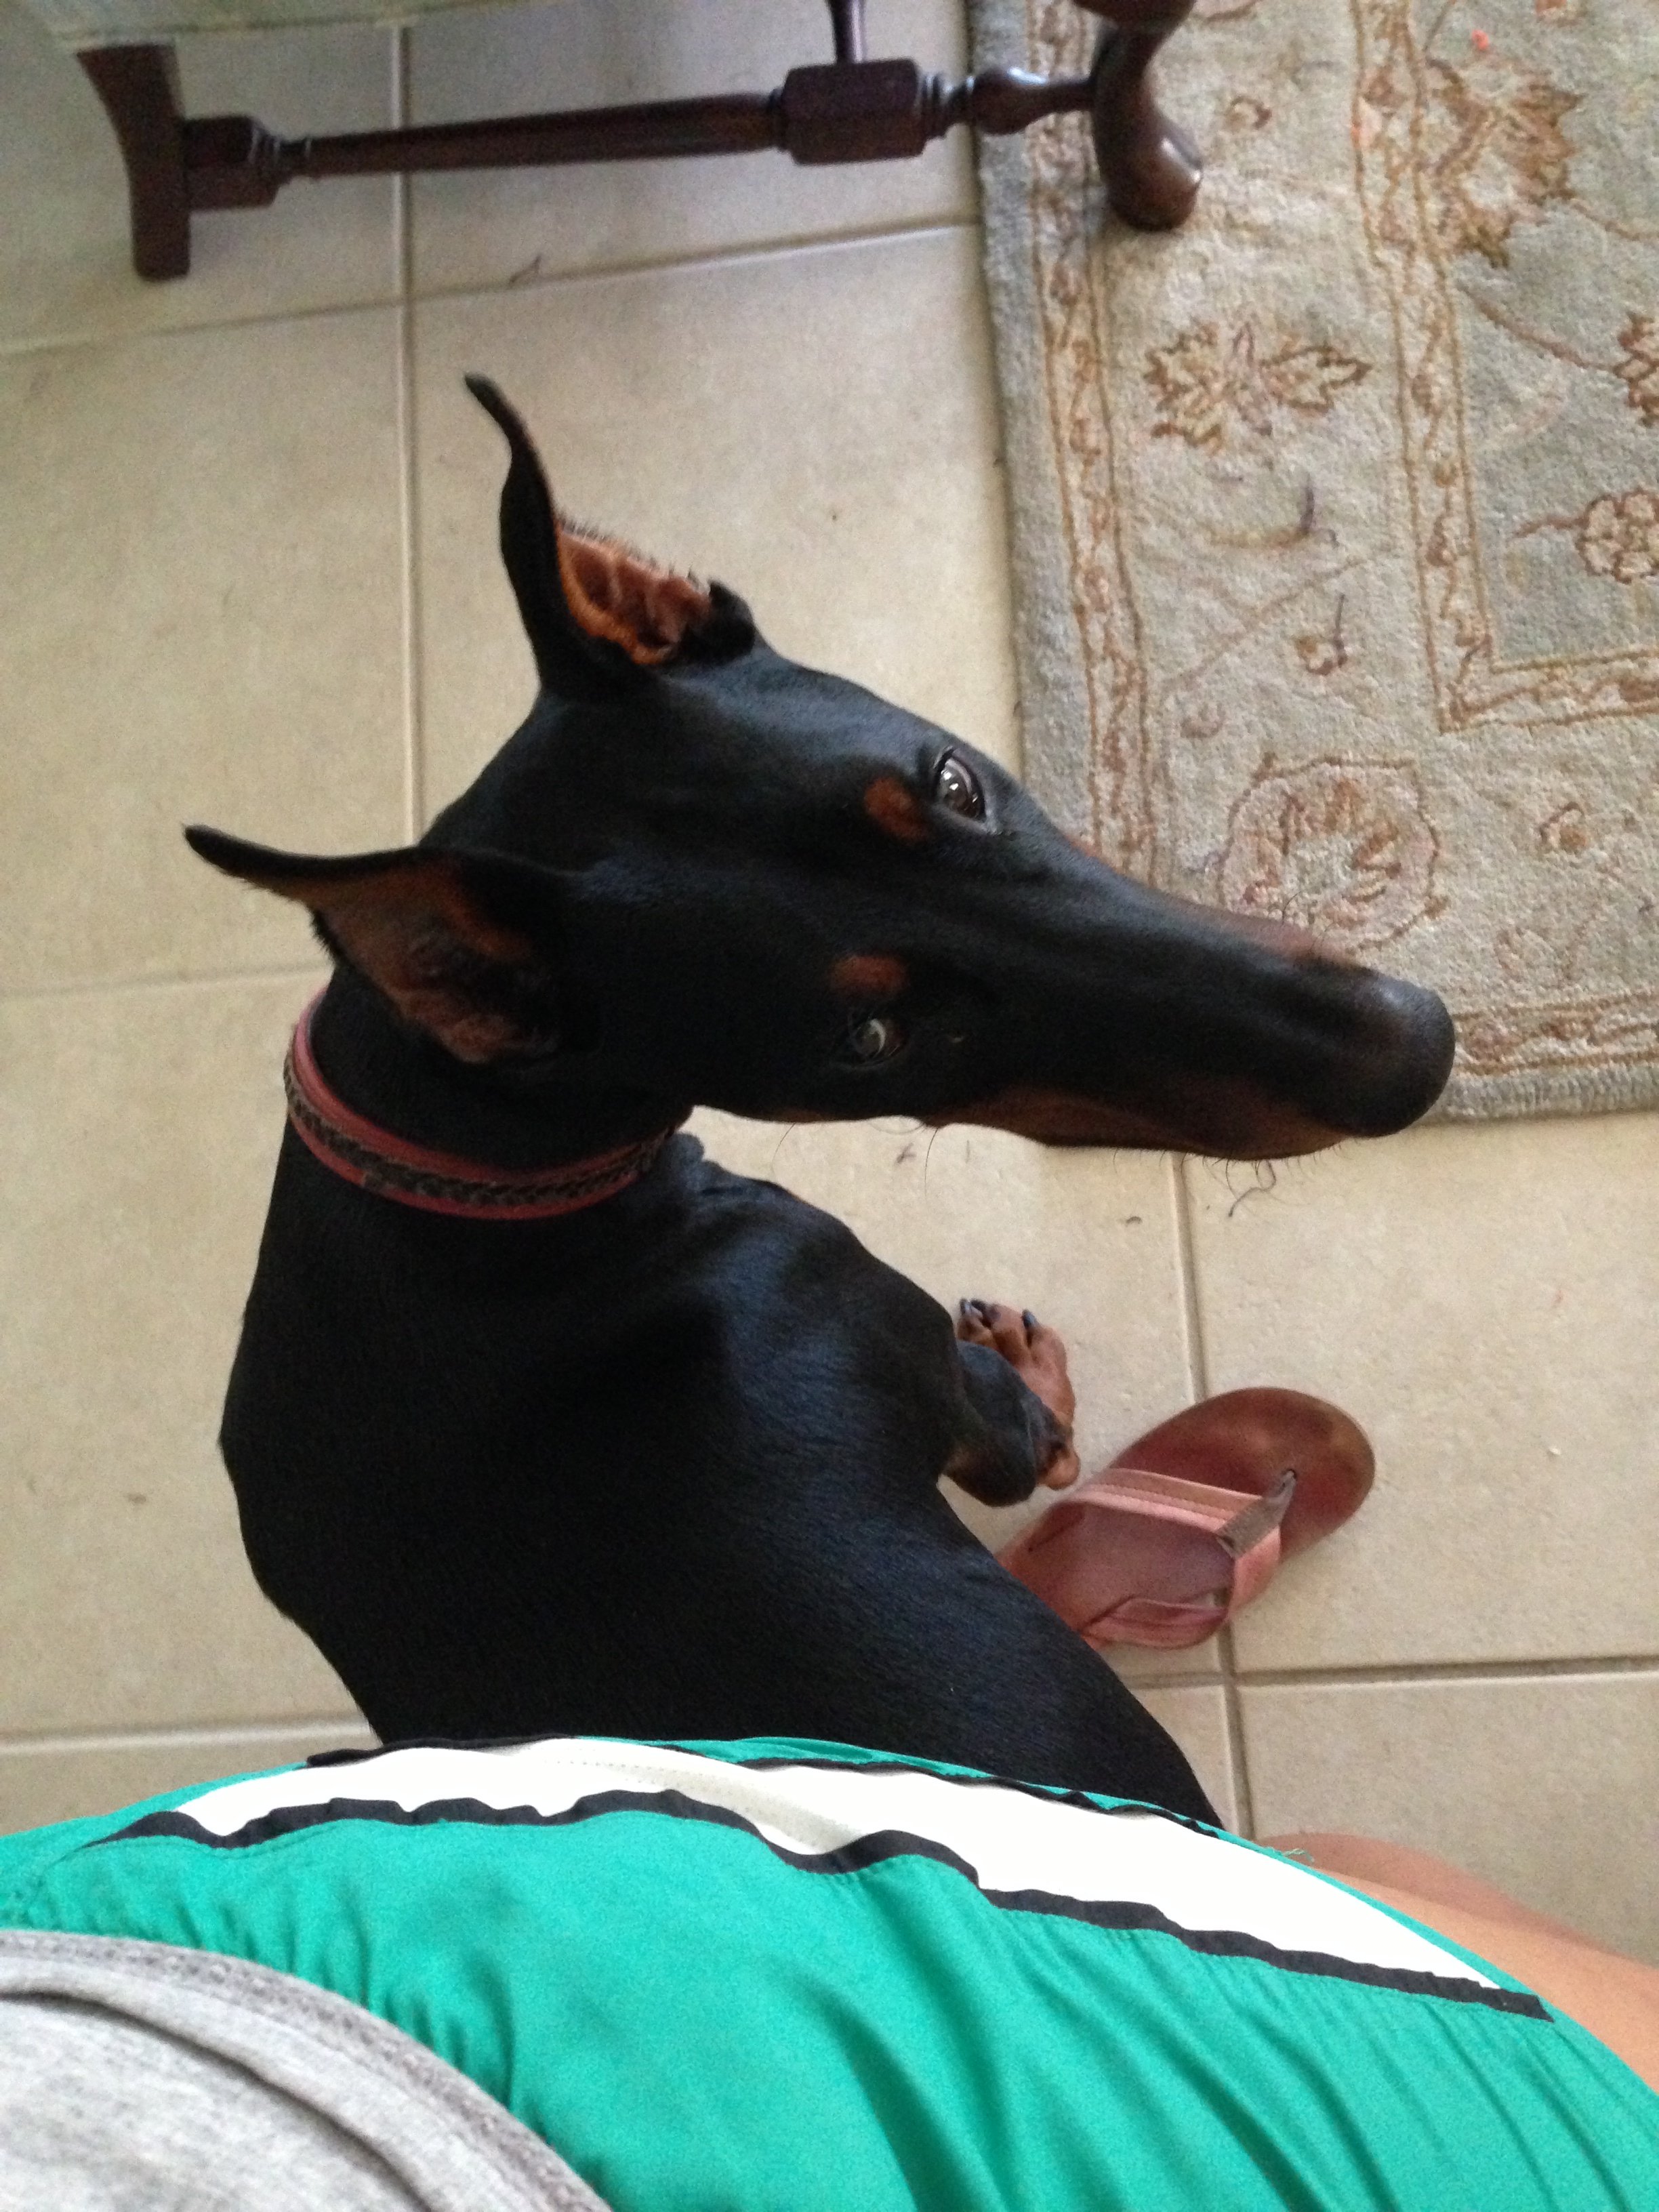
First time we got to see her ears up without postings or stitches! This however was after she scratched them all off so it was not by choice, ohhhh Cabella.IMG_1019 IMG_1034 IMG_1049 IMG_1079 IMG_1085  IMG_1179
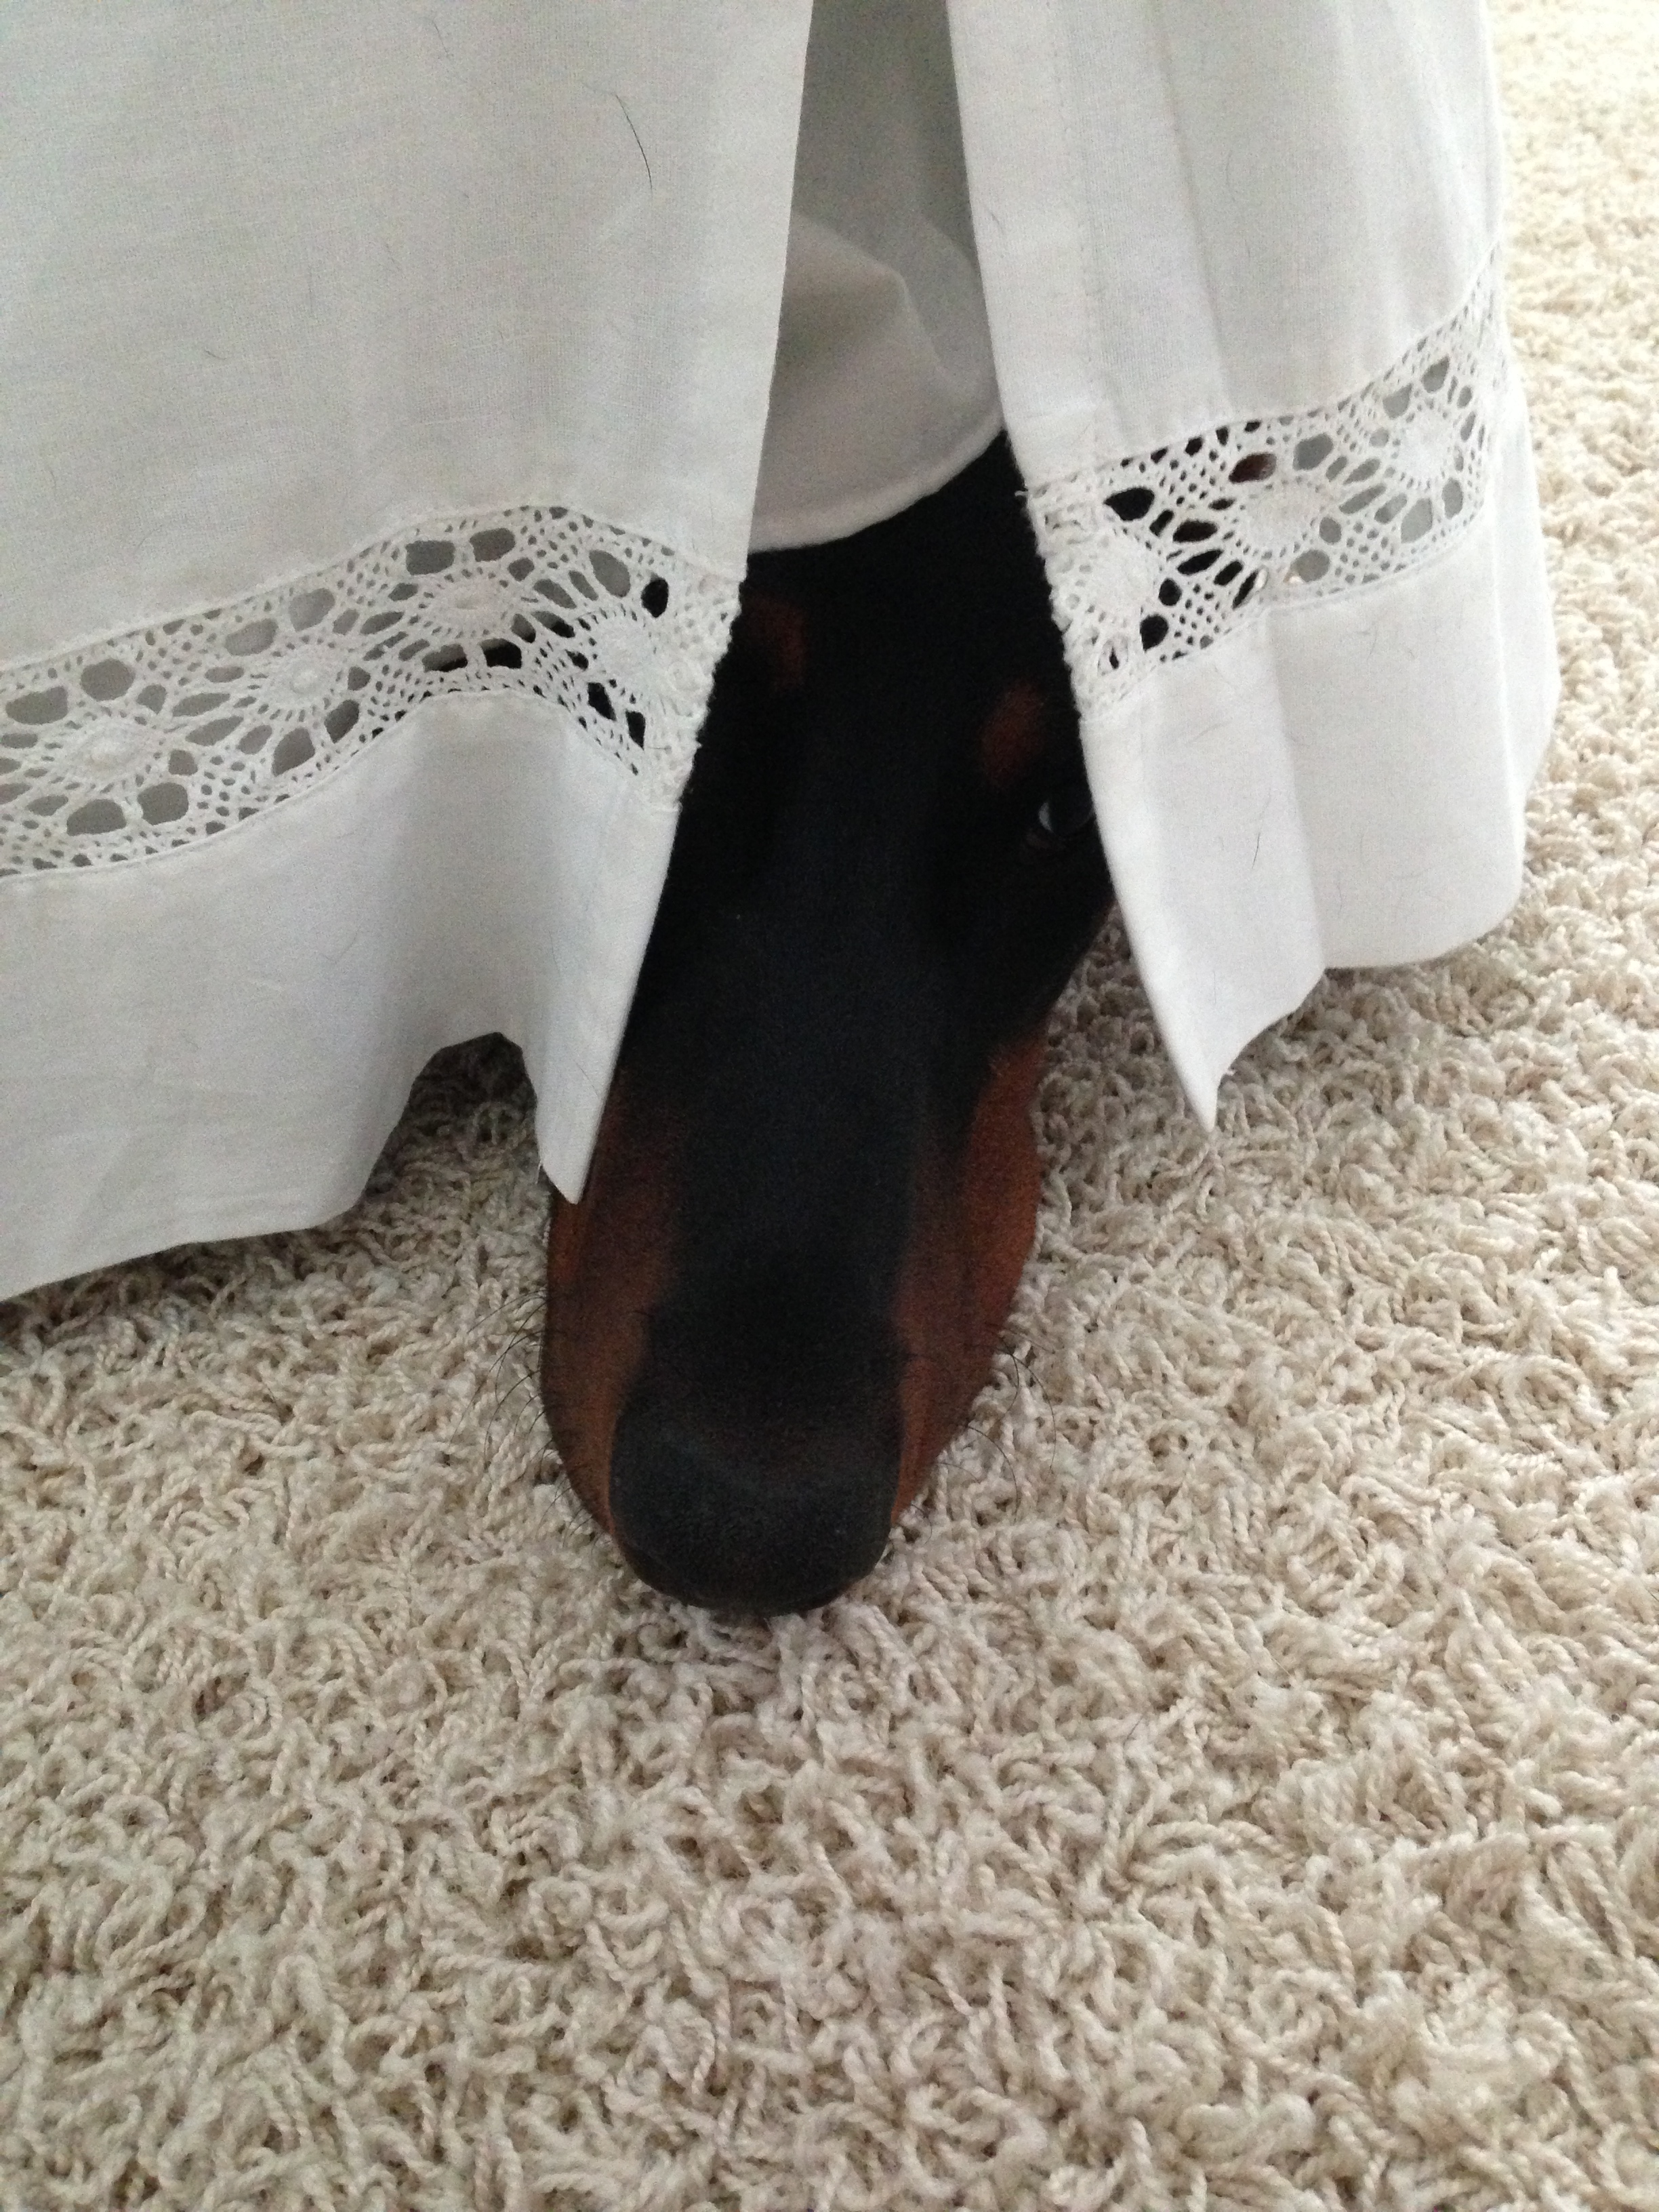
The basement is a scary place apparently! Here she was still learning how to use stairs.IMG_1202She needed posts in for about 8 weeks. It was a little longer than we hoped since they were not in 24/7 and the type of shape was a little longer. IMG_1261First tooth out, that I knew of at least. She definitely thought it was a treat here.IMG_1345From age 3-6 months she learned a lot of new behaviors and tricks like sit, stay, recall, no biting, no jumping and our favorite “leave it” Here she’s showing a lot of self-control with leaving her food alone until we say so.

IMG_0589
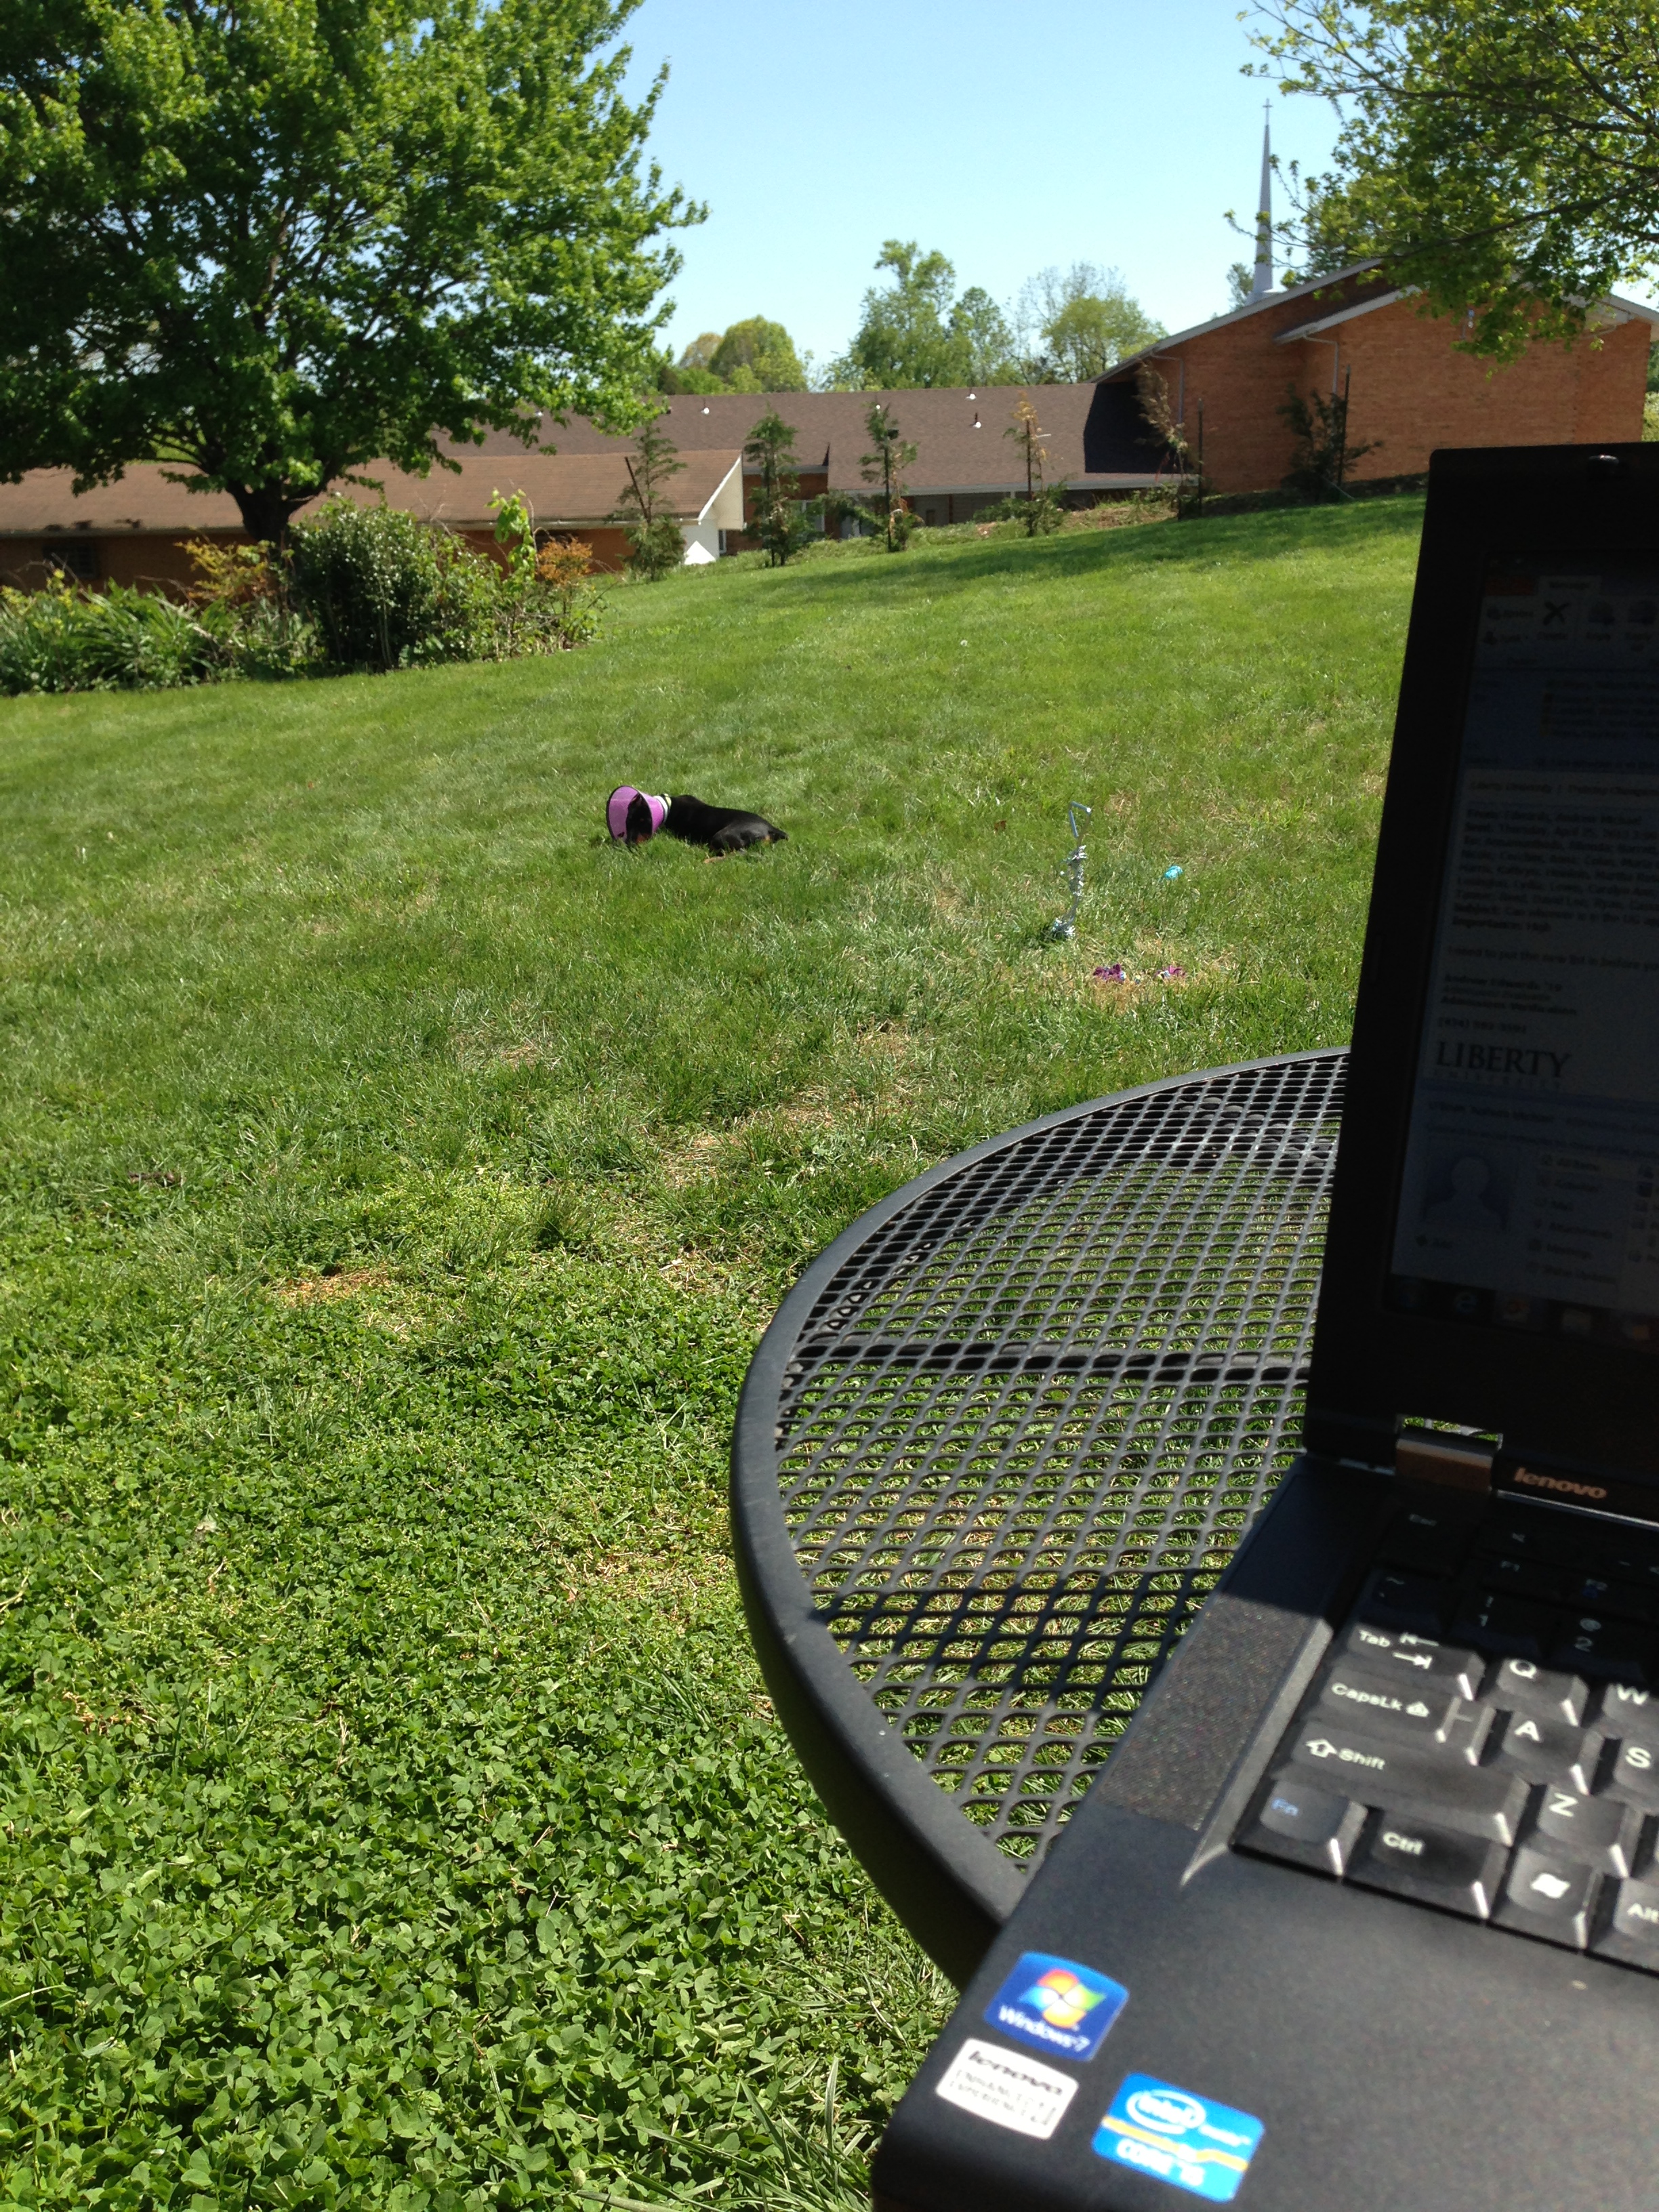
Picture from my trip to Wisconsin in July with Uncle Paul at the Girgis cottage on Clear Lake. She’s about 5 months here and 50 pounds.IMG_1408 IMG_1438 IMG_1551
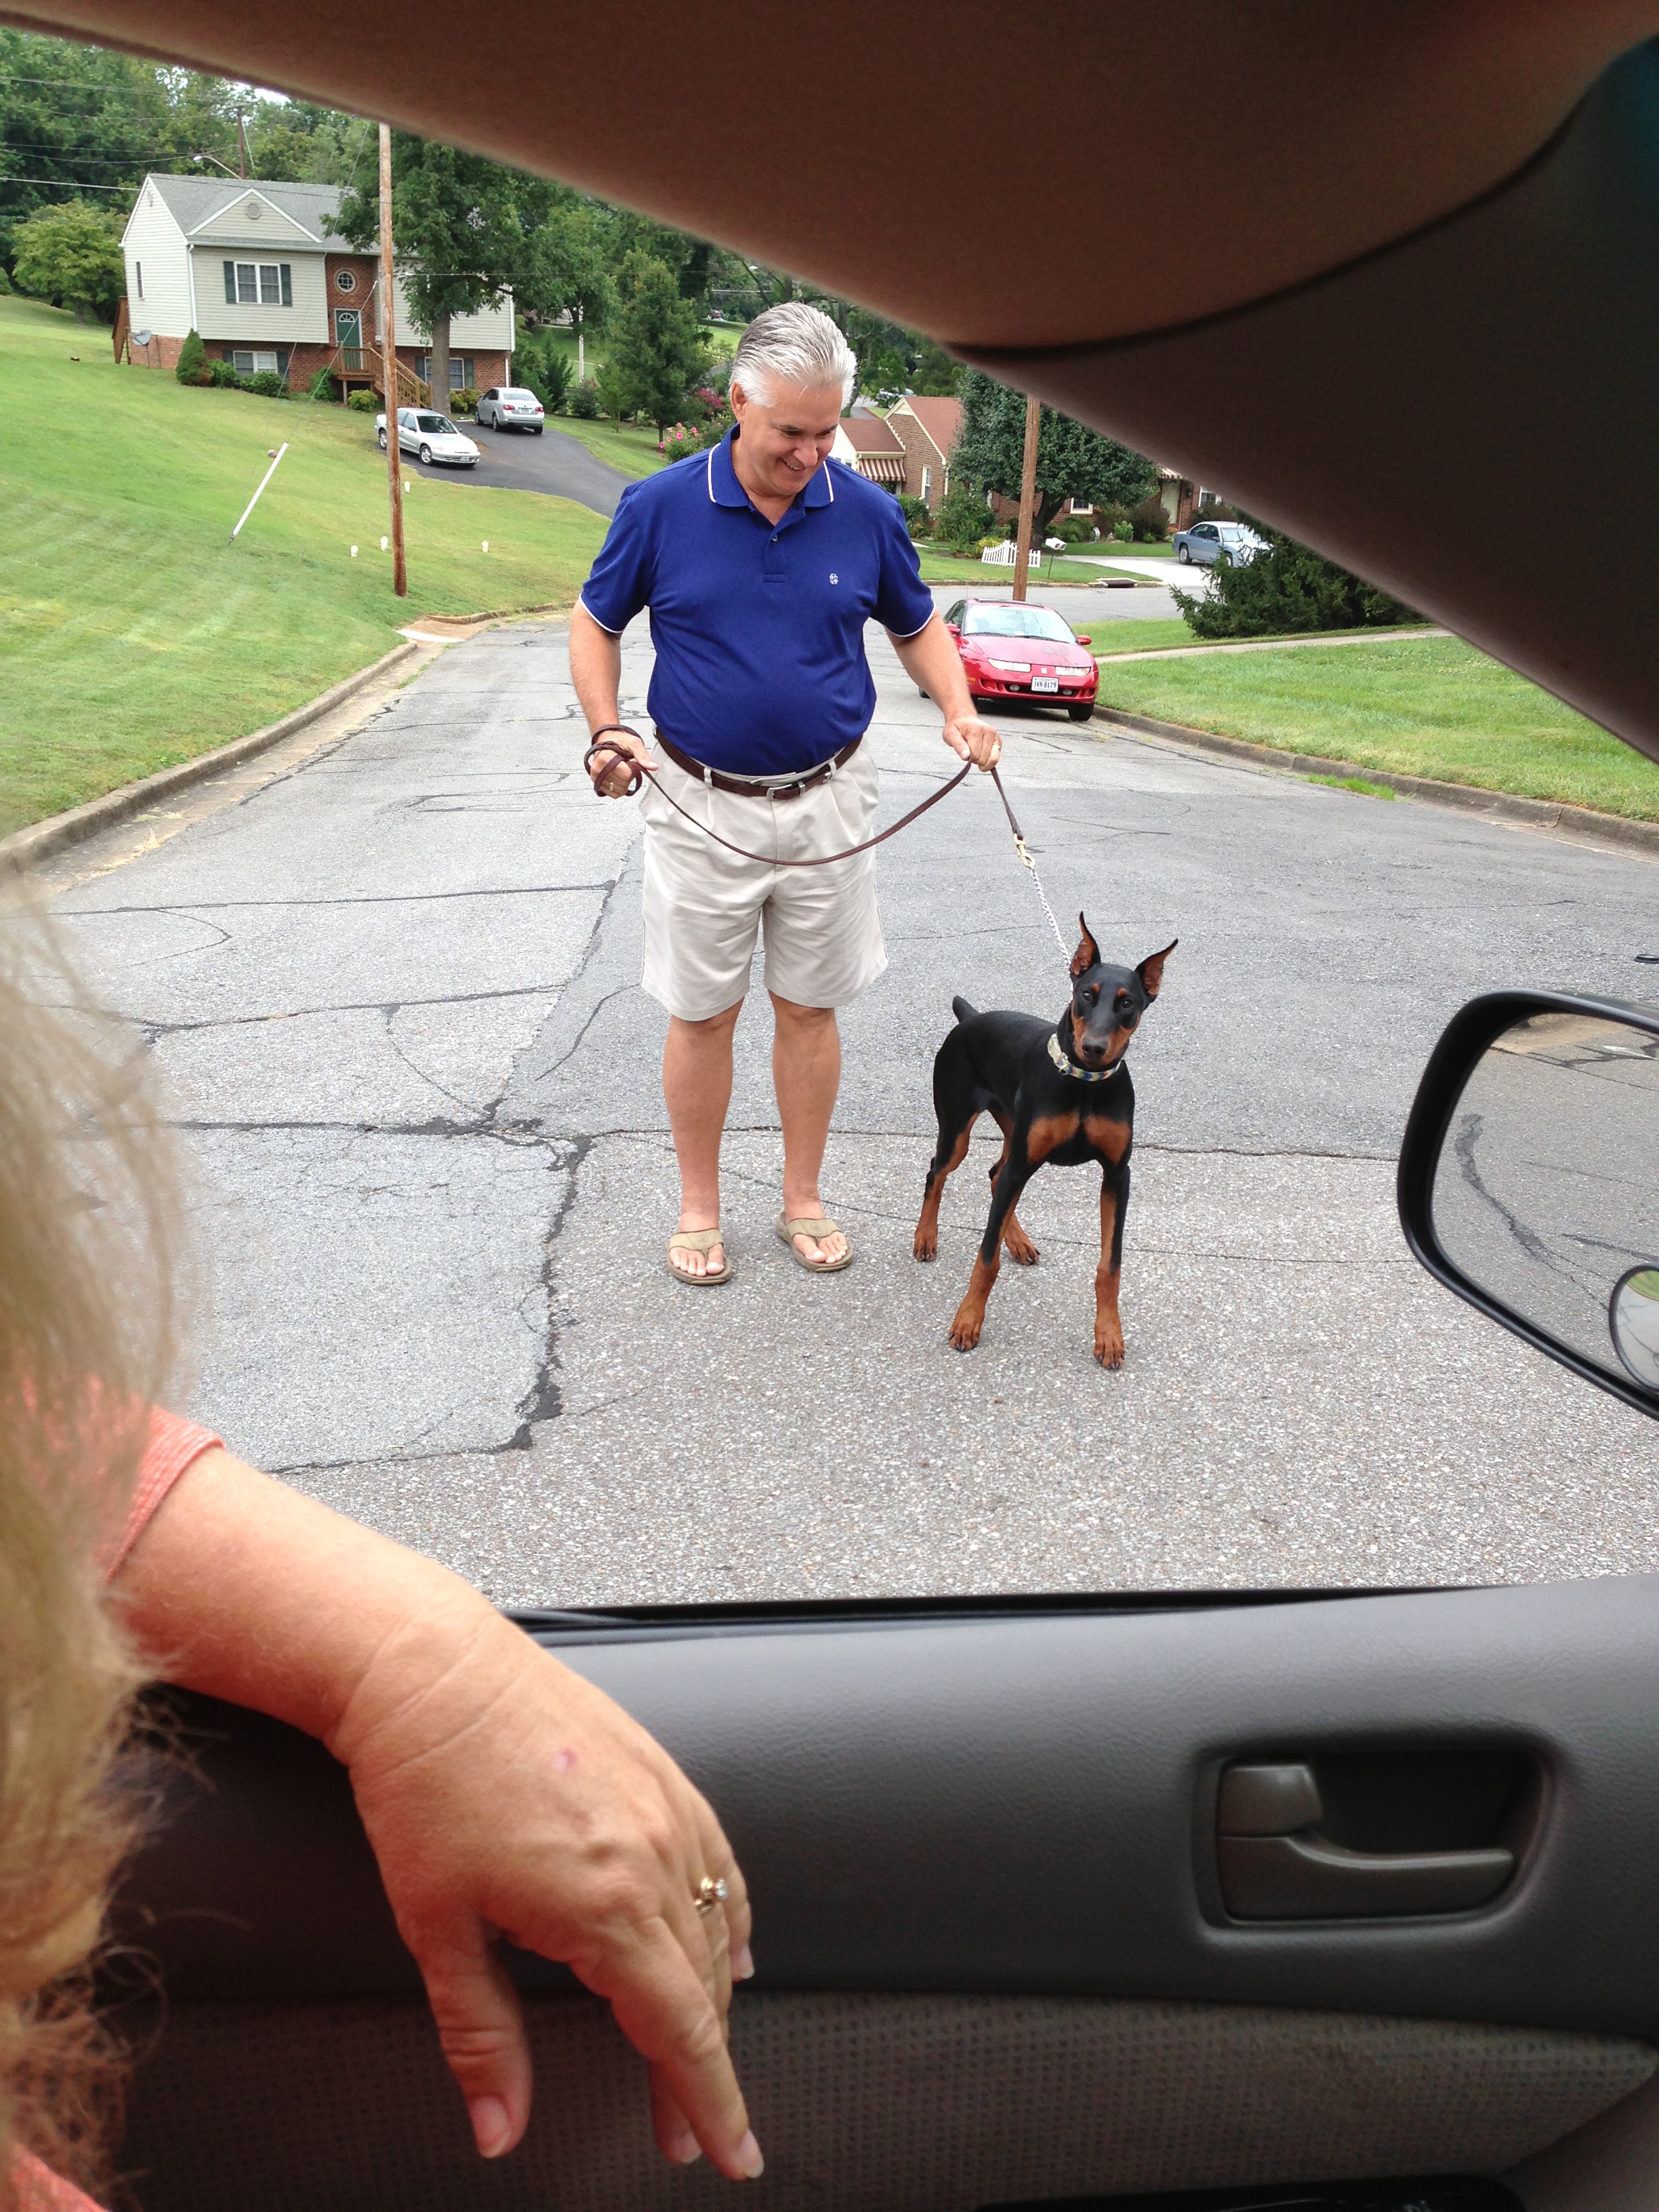
Trip #2 to Papa and Nana’s house! She was able to get quite a few sessions with a professional trainer (Thanks Ruth!) while we were down there also.
IMG_1664 IMG_16791065945
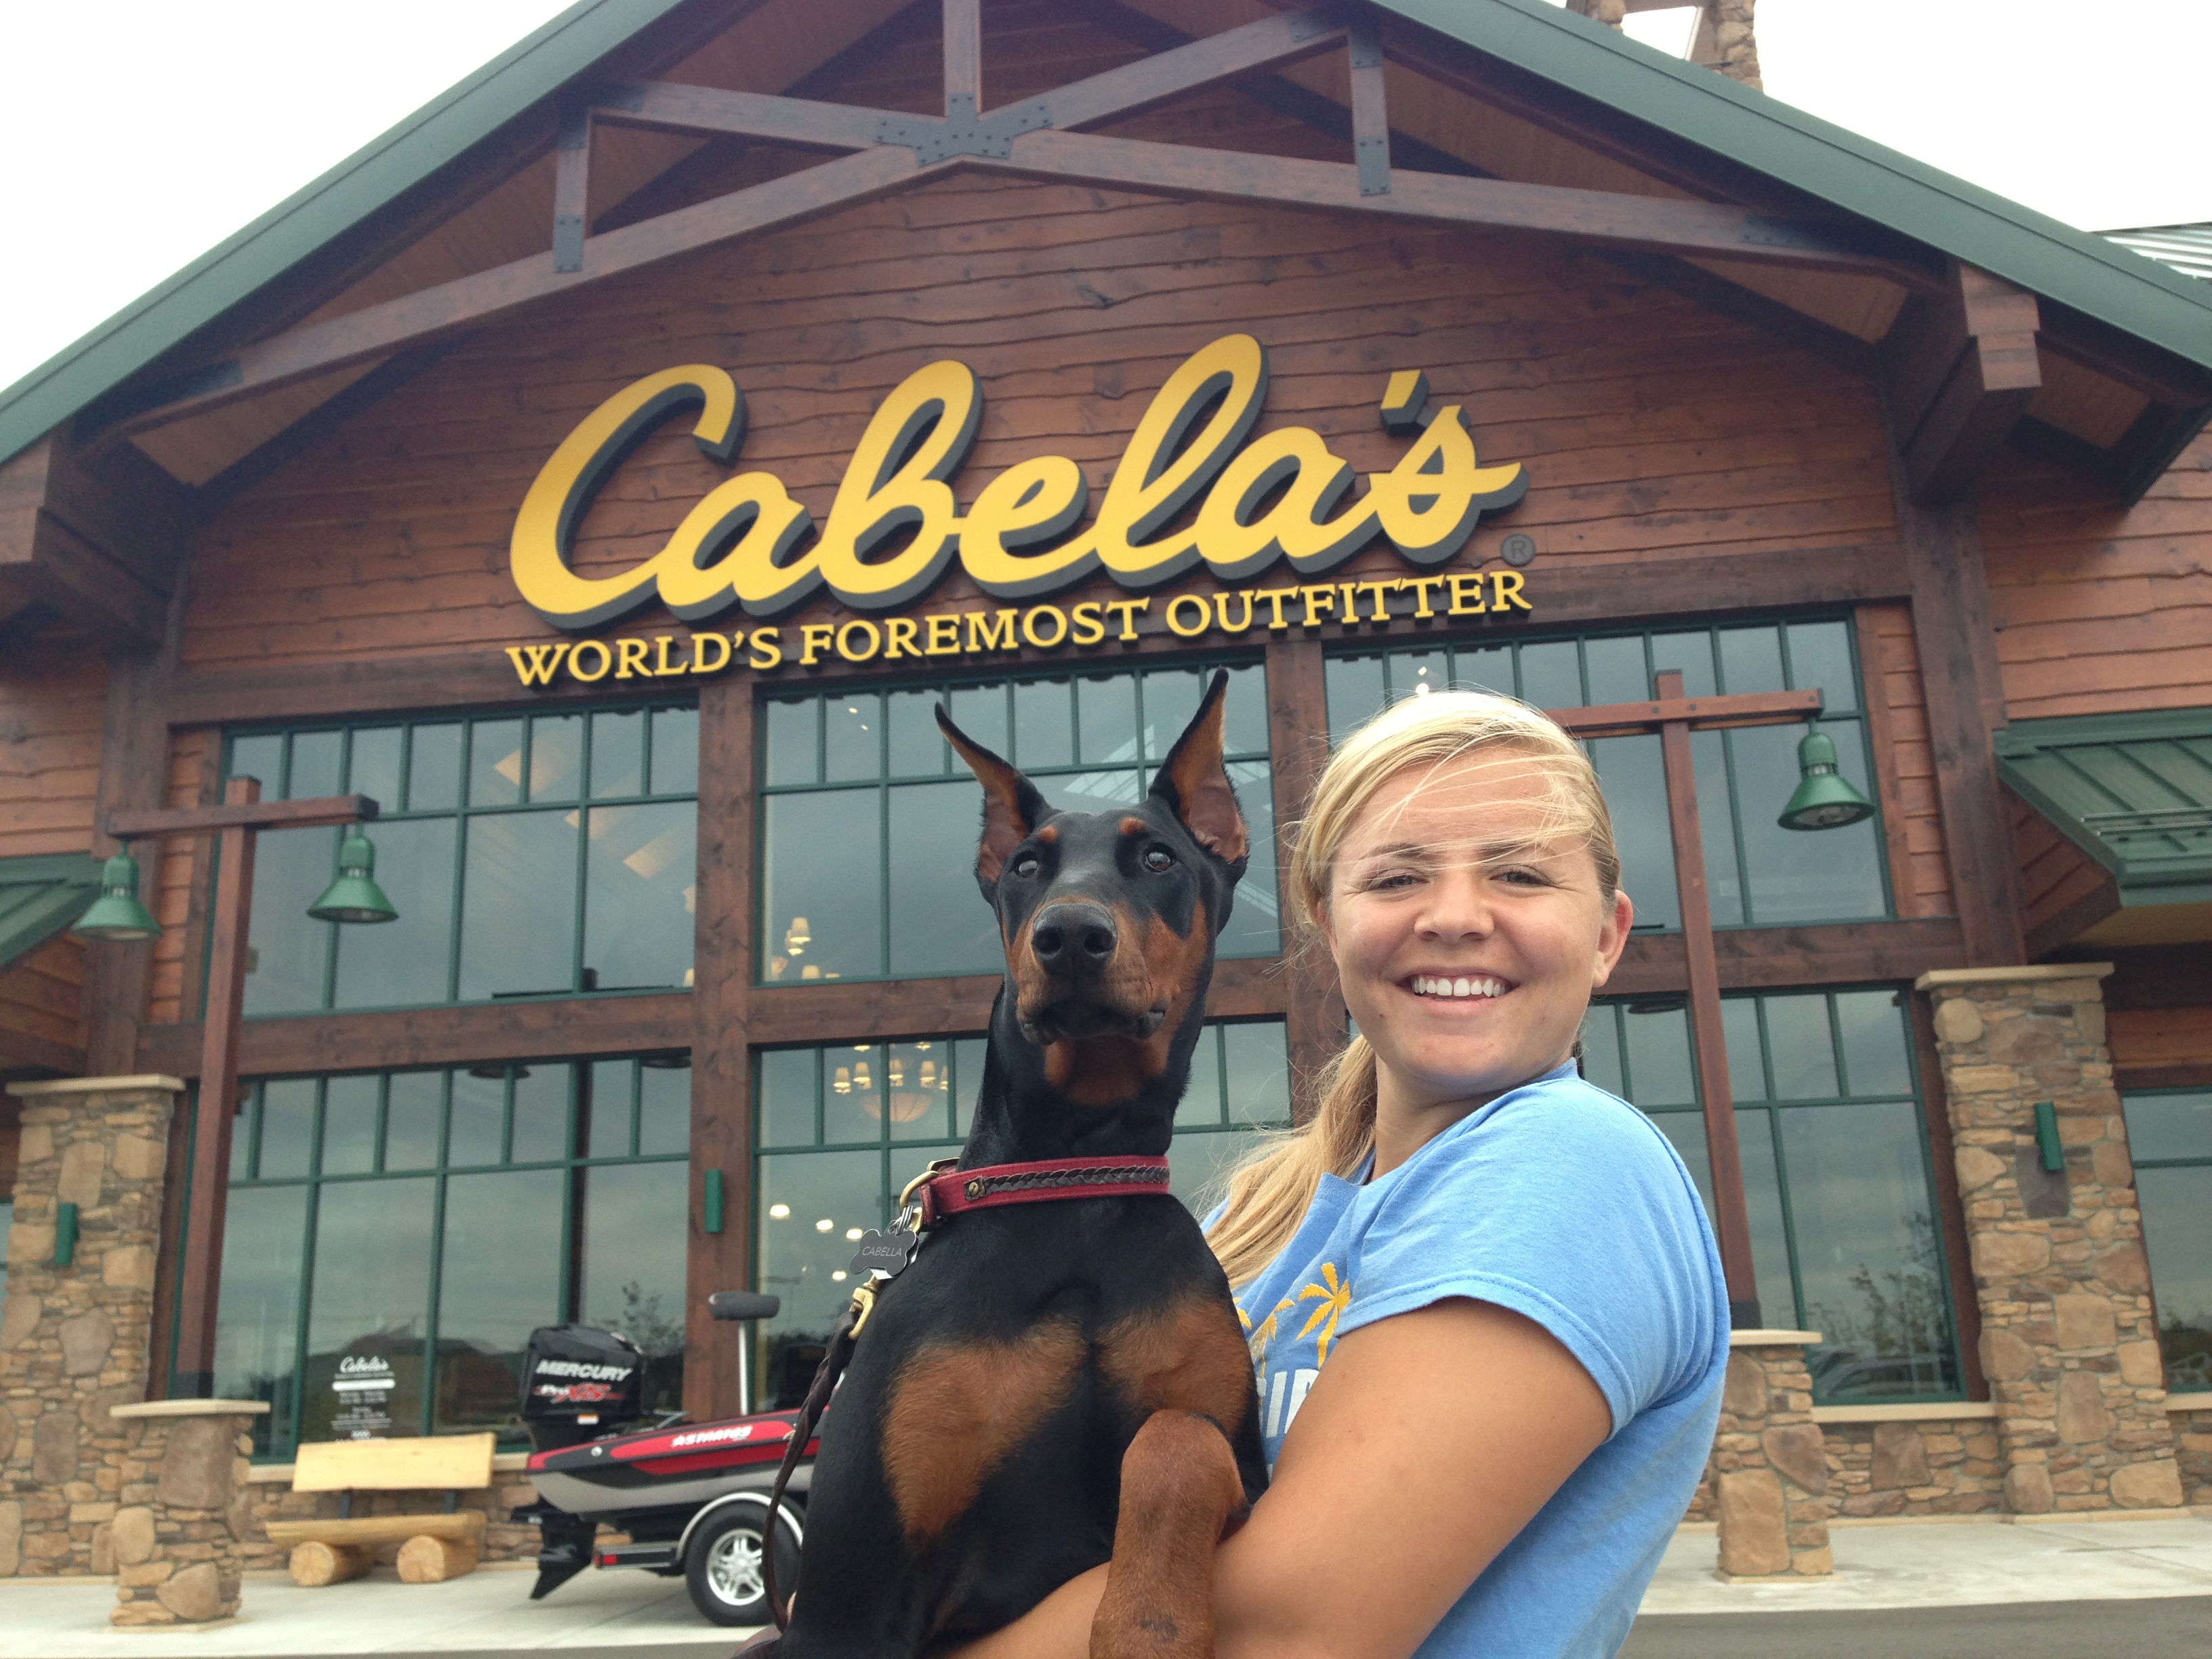
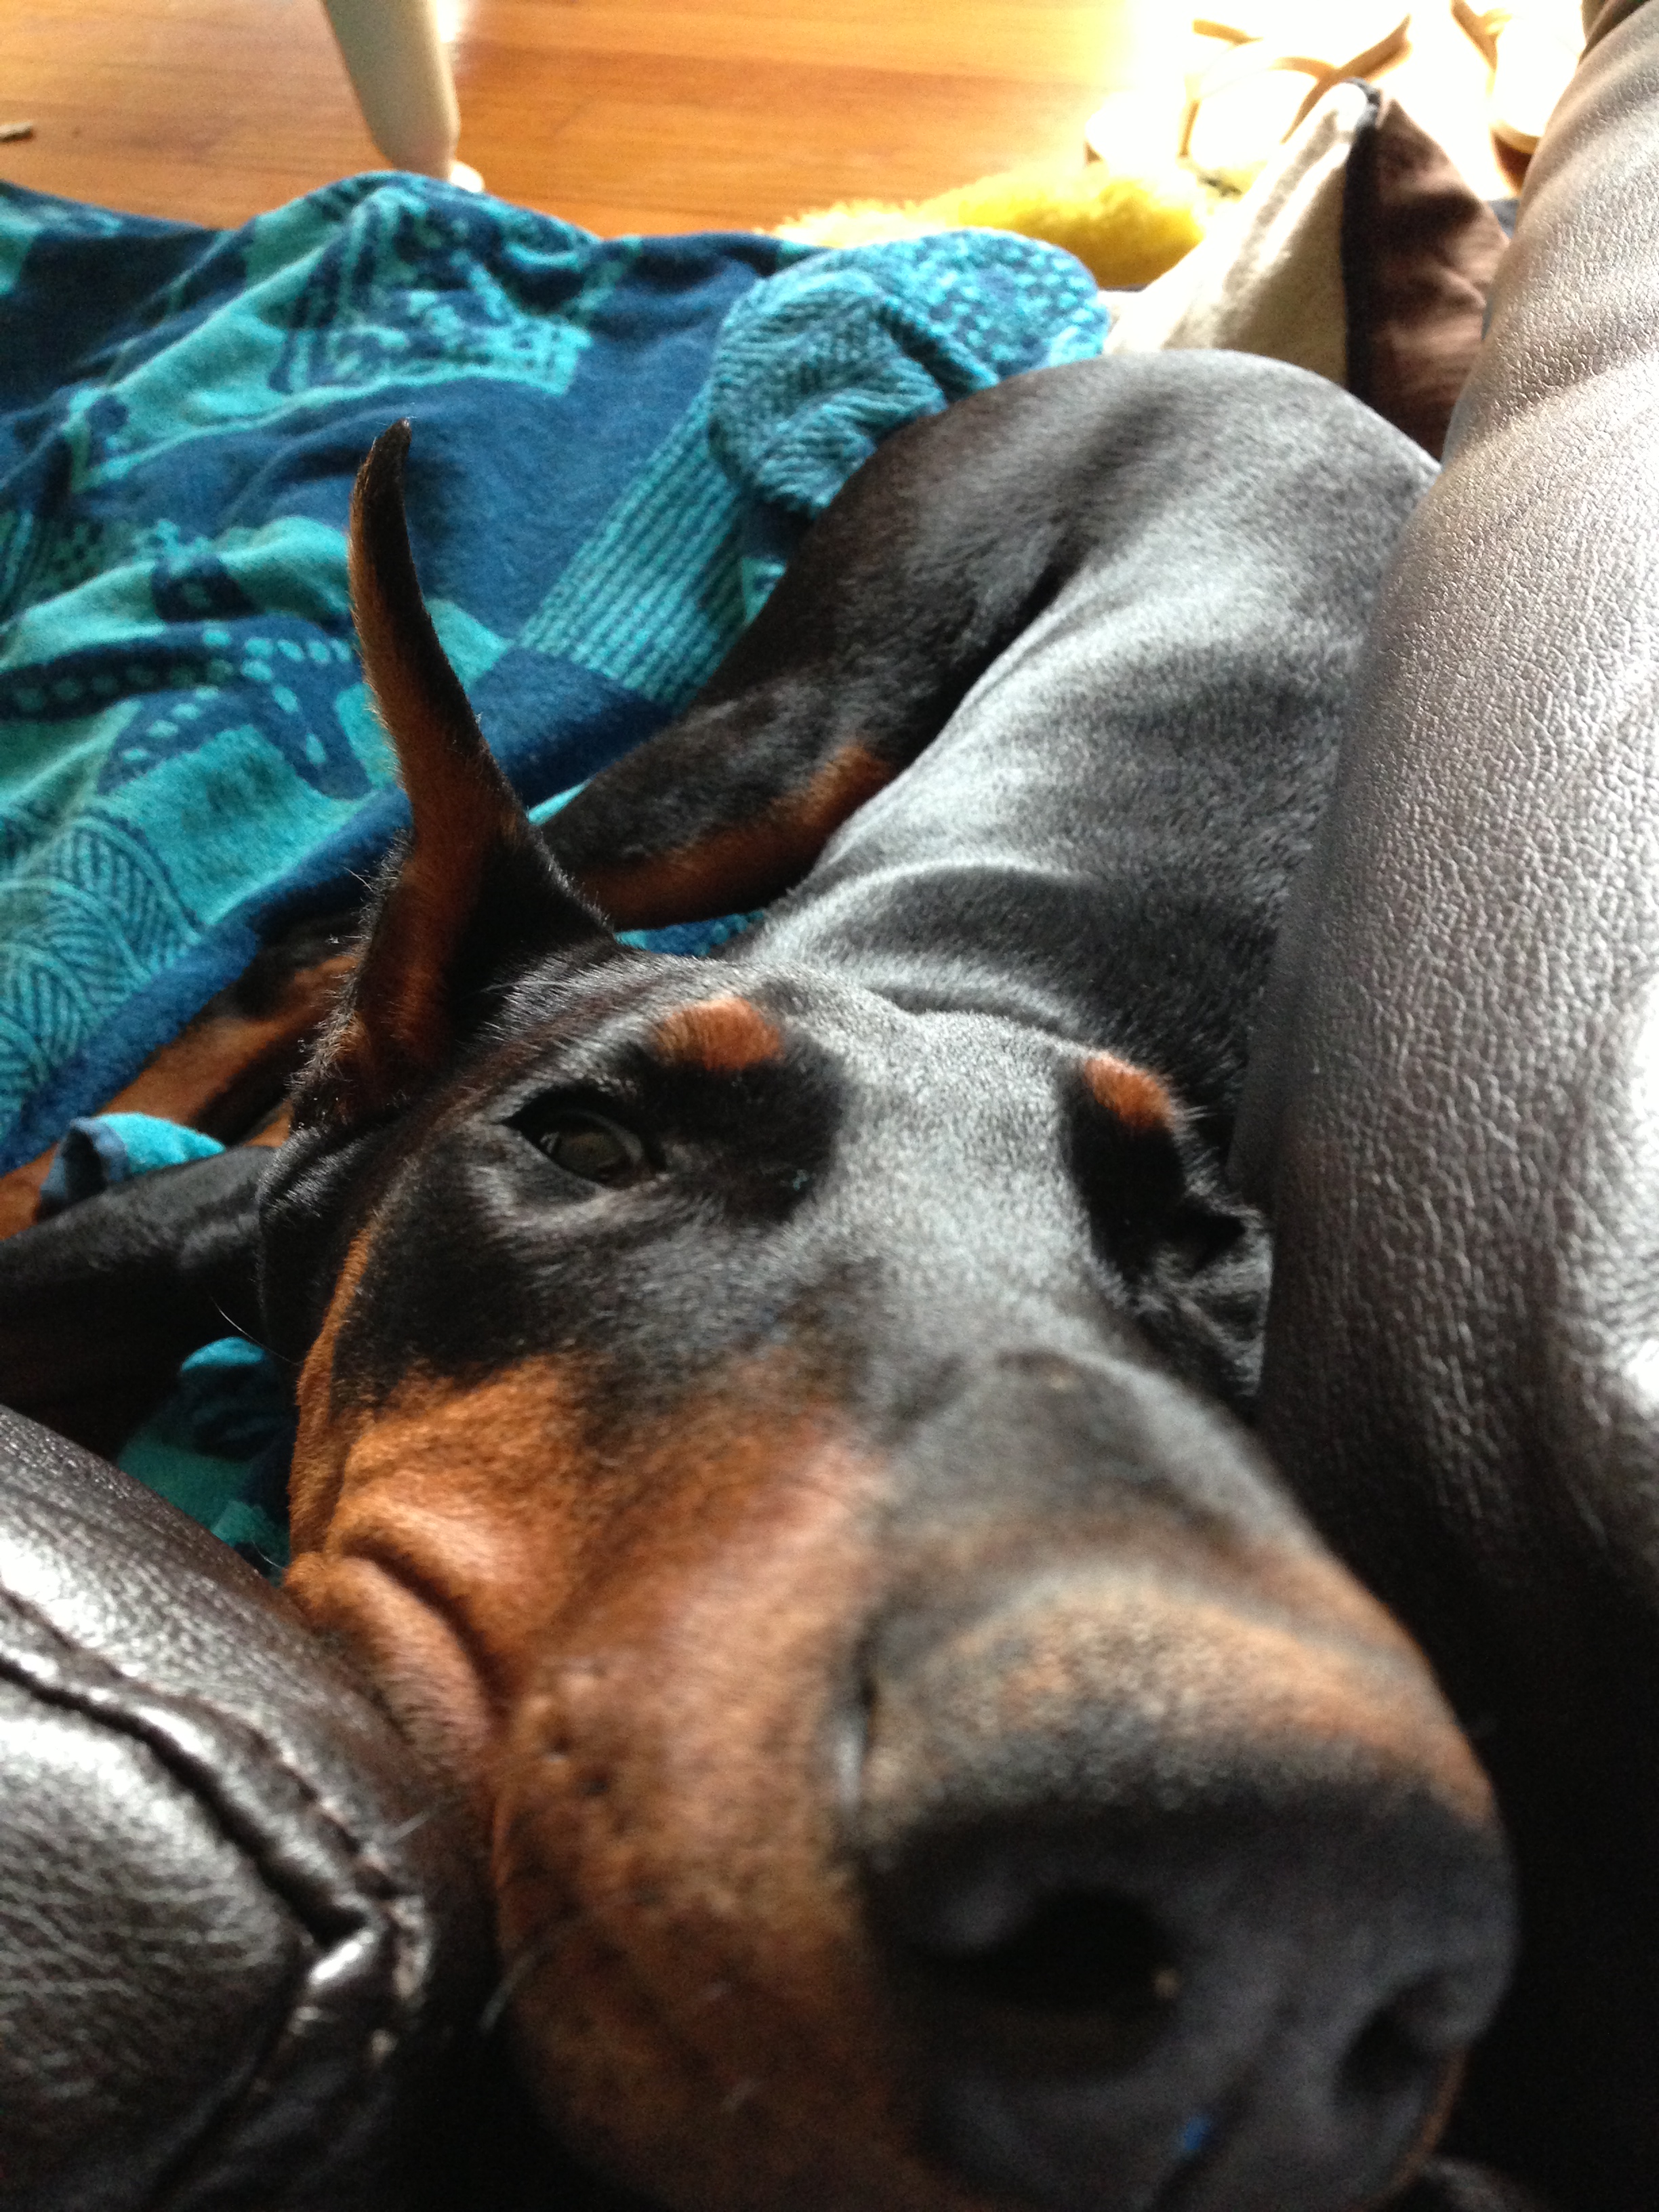
She is now 10 months old and 60 pounds, but still miss energetic! If you’re thinking about adopting a puppy, you can ask me anything! Puppies just look so cute and irresistible but it is a huge responsibility and a lot of patience. Practically speaking, Dobermans do cost a little bit more than the average breed if you decide to crop their ears and tail.  I am excited about the upcoming years though with this one, thanks for reading!

Low Country Boil

Hello All!

Whew, have we had an extremely busy month with tons of little projects. Ashley and I decided to split some of them and I’m here to update you on my stuff 🙂

We were blessed enough to get out of town for a weekend and visit my parents and family down in Georgia. It is always so awesome to get out and get some re-cooperation in :). Also some good ole’ “Low Country Boil” doesn’t hurt either…

Image

We’ve also been super busy with the house too. Lot of little projects that are starting and also getting finished. I’ll let Ashley cover those 🙂 My big project for the month so far has been the fireplace. To peak your memory, here is a picture of it the day we moved in…

Image

Is it just me or do you feel like there needs to be a mounted Deer Head hanging up above the fireplace?

….Anyway, up until this post our livingroom was actually backwards with the couch facing the opposite wall of the fireplace. The reason for this being that the coax cable for the tv ran from the opposite side. We knew we would eventually want to switch things around and face the fireplace. Face it (pun intended), who doesn’t want to watch the Birds beat on the Cowboys on a chilly Sunday with the fireplace going? Sounds like a dream… 🙂

Well, after almost 8 months of residency, I am proud to announce that we have finally reversed our TV watching antics to face the fireplace as opposed to a blank wall! (Edit, sorry for the horrible picture quality, there wasn’t enough Hue and Saturation in the entire photoshop world to make this picture look remotely high quality)

Image

Lesson of the TV mounting project. Don’t waste your money on a stud finder for Wood Paneling. Common sense would have told me that the stud finder is obviously reading the entire wall as one giant stud, but I had to try it anyway. My friend Luke and I put our brains together, and with our powers combined, we were able to find a stud that was strong enough to mount the TV on. You will also notice in the picture that the mantel is missing as well as the brick styled “corbels” that were supporting the mantel. I will have to say that I am glad Ashley wasn’t home when Luke and I went to town on those bricks, there was literally projectile flying everywhere. Of course we thought we would be slick enough to clean it all up before Ashley got home, but the poor girl spent another hour picking up our “crumbs.” 🙂

Sneek peak for the next post, not only will you notice in the picture above that there may or may not be a dark brown leather type sitting device (new couch!) in the bottom right hand corner but you can see where we are going with the fireplace below 🙂 Furring strips are going up for our fireplace frame.

 Image

Until next time…

-Jimmy

Roof there it is

When we bought this house we knew it needed a new roof, despite that we paid $23,000 less than the assessed value (woot!). It was stained, old, and had some issues that we couldn’t ignore for long. This is how it looked the day we moved in.

This is probably the best shot I have of the back part. The old vents are where you see those rust stains and taking them out must have been an easy leak fix since we have water stains on the ceiling in those spots.

Another issue is clearly seen here:

See our beautiful 50’s green stone? Well the right side is completely soaked, and no it’s not from strange winds. That water actually leaked all the way into our basement, creating a stream down the basement wall. So sad! After further inspection, this very tiny issue made this big problem:

Since the shingles didn’t completely cover the lip of the gutter, the water was seeping underneath the roof, through the soffeting and down the green stone. It’s amazing what a few centimeters can do! Talk about the importance of attention to detail.

We used Rustoleum Rubber Spray to fix that problem (it worked perfectly), and it probably would have been fine for several more months if it wasn’t for the next issue. A HUGE storm! It left Lynchburg without power and our roof in bad shape. This is actually the only road to our friends Jay and Sarahann’s house, they had to walk back and forth down this road for many days.

That storm caused damage like this over our entire roof. Our roof vomited shingles all over our neighborhood. Ok, that’s not exactly true, but I did spend a half hour tracking them down! It’s amazing how far they went, and where I found them!

This meant it was home insurance time! The odds however were not really in our favor. We had a really old roof that needed replacing anyway, but we went for it. Jimmy and I prayed before the adjuster came that we would be completely honest with him so as not to take advantage of the storm.

Well the best scenario happened! State Farm (our wonderful insurance company) paid for a whole new roof! Praise God! Huge news which saved us a ton of money. Plus we were able to get some upgrades. Here she is:

`

Ah, so beautiful. We chose to upgrade to the “Architectural” shingle instead of the cheaper “three tab” shingle. What we had before was the three tab; architectural gives more dimension and just looks more expensive to a buyer since it can actually help sell a home. We also got a super sweet electric roof fan which keeps the attic cool.

Exciting stuff! A side note, Jimmy worked on the roof for about two hours the morning after the storm because if not we would’ve had a lot of leaking. And since our electricity went out for a week, our refrigerated food went bad. The insurance company also paid for his work and the bad food! The Lord truly looks out for us and blesses us so far beyond our needs. 

“For when we were still without strength, in due time Christ died for the ungodly. For scarcely for a righteous man will one die; yet perhaps for a good man someone would even dare to die. But God demonstrates His own love toward us, in that while we were still sinners, Christ died for us.” Romans 5:6-8

Hello Yellow!

Phew! It’s been a long time! With my Middle School Ministry and Grad classes in full swing, this poor blog has been put on the back burner.

But that doesn’t mean we haven’t been working on our home! Our front door needed a lot of love with it’s water stains, too small 1950’s lights and random door ornaments. (See the teddy bear, butterfly, and “N”?)

First thing, I removed all of the ornaments and cleaned the storm door and wood door. This is difficult to see, but it is much less cluttered looking without it! That’s Jimmy and Jay working hard back in March to clear out that section of weeds, very old hoses, and even some garden trinkets.

The next big thing was the lighting. The current lights were way to small and way to old. We have a really great Habitat for Humanity Re-store here in Lynchburg and in Roanoke. When my Mom was in town we found 3 very old Brass outdoor wall mount lamps for $10! They were filled with old bugs and the finish was terrible, but we saw something else with them.

I took them apart, scrubbed them down, primed them with one coat of $1 car metal primer from the Re-store and two coats of Rustoleum Oil Rubbed Bronze, and this is how they turned out! (The pictures from the process are nowhere to be found, sorry!)

The difference is TREMENDOUS! I love the new lights, and for about $11 each, you can’t beat that upgrade! Since the new ORB (Oil Rubbed Bronze lights clashed with the old brass door hardware I decided to spray paint that also with the same cheap metal primer and two coats of ORB. I removed the door knocker, but spray painted to handle and knob without removing it from the door.

The door handle was more difficult however since I obviously didn’t want to paint the door. Yes, it is ghetto and speaks of my laziness, but i really didn’t want to remove that knob! It’s not shown in the picture, but before spray painting, I actually put a spare key into the keyhole so as not to get any paint in the inside.

Well it worked out wonderfully, you can’t see the door handle too well here but you get the point I hope! I can’t believe how much of a difference some spray paint, new lights, and a flag made!

We also added an American flag, which not only adds some color and dimension, but shows much needed respect and homage to our freedom. You can also see that our Hydrangeas filled out a little :).

Now onto the fun “hello yellow” part! The water stains are SO obvious on the original 1957 door, so until we can afford to upgrade it into this century, we painted it…this color!

Pretty bright huh? It’s Valspar’s Full Sun EB1-1 Eddie Bauer Home collection exterior Semi-gloss finish. Since the door is so damaged, it unfortunately did not come out as sleek and shiny as we wanted, but the color is still fun.

It took two coats of primer and three coats of paint, we could’ve put on a fourth for sure.

This is a little different view and angle, but the difference is pretty amazing.

We of course have plenty of plans for that tiny space, but it is such an important part of a home. We want our home to be approachable and welcoming.

To do list for the porch:

  • Clean and stain the concrete
  • Remove concrete walkway and lay pavers or slate
  • Add big flower pots/urns
  • Buy a new front door and spray paint or buy new storm door
  • Buy new hardware for front door, something bigger
  • Build a small pergola over concrete porch
  • Completely re-design landscaping
  • Use faux stone or Vinyl siding to cover up green stone

“Wisdom is good with an inheritance, and profitable to those who see the sun. For wisdom is a defense as money is a defense, But the excellence of knowledge is that wisdom gives life to those who have it.” Ecclesiastes 7:11-12

Adios brown paneling!

***Hey look new design! We thought this was a little bit more fresh and easy to navigate.

I can not keep this blog updated fast enough, too much going on! But anyway. we are finally tackling the living room, yay! Next to the basement and kitchen, this room feels so old. Even before you get into the house it screaming “I was made almost 60 years ago”! More on the front door and porch later.

This is the view from the Dining area, notice the wood paneling and wallpaper border. Although the window treatment provides a lot of privacy it’s not our style and quite inconvenient because of how the furniture set up is now.

Check out these curtains! They may have been nice in the previous century, but not this one; those came down pretty quickly after we got the keyes. Our Dining area is perfect for our little white pedestal table and four chairs.

This fireplace will be such a blessing during the colder months and we’re so happy that it is ready for gas logs. It does need some love though, right now it blends into the wall. We want it to be the focal point in the room.

Another shot of our Hallway of Happiness after it got some primer and before we added paint and artwork.

For this house and our budget, this would be my dream fireplace! The only thing I would add would be builti-ins on either side but nothing too big, sometimes built-ins can look crowded. Built-ins will also help with hiding all of the ugly cable boxes, gaming consoles, speakers and wires. The stone, colors, coastal feel, curtains, and the way the T.V. is sort of hidden is our idea of a pretty fireplace :). Source is from House Beautiful (I believe).

Here is sort of an idea of the built-ins that would match our style and proportions for the room. http://www.houzz.com/photos/71292/Master-Bedroom-traditional-bedroom-portland Do you see the window treatments in that Master Bedroom? That is very close to what we want in the Living Room also, dark roman shades with white curtains. This will add (more) texture and contrast to the room once all of the paneling and trim is painted.

Since knotty pine isn’t really our idea of a home, although it reminds me of Clear lake and Grandpa and Grandma’s cottage, we need more light in the room and more contrast since everything is brown right now. We carried over Glidden’s Sand White but only 75% of pigment into the Living Room and Dining Room. It adds some flow to the home, and we both don’t like the look of two different colors in a connected space. ***This project is still in phase 1, these grooves are killin’ us!***

This is our Dining area from the view of our kitchen after two coats on the paneling and walls. We bought the table and chairs for $100 on craigslist, not to bad!

Check out how groovy our walls are! Jimmy rolled two coats and I had to use a paint brush in every. single. nook….twice.

Isn’t our door so pretty? They’re solid wood, original and are so different.

We still have to finishing painting the molding and have the last wall to prime and paint as you can see below.

But the difference has been incredible, we’re starting to feel more “at home” in this room.

Future plans for the Living Room:

  • Mount our TV above fireplace
  • Build built-ins around fireplace
  • Resurface the brick on our fireplace with tile or paint
  • Refinish all of our wood floors to a rich mocha color
  • Buy a sectional sofa maybe something like this one from Ikea
  • Install a new light
  • Finish the crown molding throughout the Living and Dining areas
  • Hang billowy curtains and dark bamboo roman shades to the big window
  • Finish painting!
  • Add shades to the doors for more privacy

We’ve been staining Jimmy’s desk from childhood and we can’t wait to share the process with you. Thanks for stopping by!

Spring has Sprung!

So some of you may know that i’ve worked at Cracker Barrel for over 2 years and this was the name of one of our Easter themes. I thought it was both funny and cute, it definitely has a ring to it.

Well we have enjoyed buying a house in the spring season. It has been so exciting to watch our gardens and trees grow.

Plants that we’ve found so far:

  • Raspberries (and lots of them)
  • Rhubarb
  • Apple tree (it bears three kinds!)
  • Rose bush (very large)
  • Peonies (about three different colors)
  • Iris
  • Poppies
  • Tulips
  • Lettuce
  • HUGE hydrangea bushes
  • Japanese Maple (Jimmy’s really excited about this one 🙂
  • Wild strawberries
  • probably 25 different weeds 🙂
  • and a billion other things we haven’t figured out yet

Isn’t that amazing? I love that the previous owner was a gardener, because I am scared out of my mind to plant anything other than a hardy tree or boxwood.

Here is how our backyard has progressed from the day we got the keys.

And here it is today all lush and pretty! (It’s about a month later than the previous picture…those are just Jimmy’s mowing clothes apparently 🙂

 Our Peonies steal the show for sure, we are so blessed to have some beautiful flowers; for every one I cut off five more replace it!

We’ve only planted 6 Cypress trees and 6 Boxwoods in the backyard so far just because we wanted to see what we have before digging anything out.

The front yard has had some major changes too! Back when Ashley’s Papa, Nana and sister Annika came to visit we limbed up our Evergreen tree out front. Here is the front yard when we bought the house.

Well after we mustered up the courage to star trimming things started looked more…inviting to say the least. Our front door had obviously not been opened for decades, we think it was because the Evergreen had gotten so wide that it fully encroached on the sidewalk! How uninviting! You can see it here how big it was, and that’s my helpful sister, Annika :).

They were all SO helpful! We cut off all those branches with a reciprocating saw too, I found that pretty impressive, Go Craftsman!

It’s now actually a pretty cute tree, I can not wait to dress it up for Christmastime with lights and a big red bow. Next to the Peonies our Hydrangeas have doubled in size. Here they are in late March.

And this is how they look today, we’re so eager to see what color they will be! I’ve added aluminum sulfate twice hoping that they will turn blue, we’ll let you know!

Project list for the backyard:

  • build permanent firepit
  • build 8′ wood fence around the backyard
  • build 10’x12′ wooden deck off of the kitchen with pergola on top
  • Paint the shed
  • Clean up garden bed, possibly move it closer to deck when built
  • naturalize the back right corner for easier mowing and planting berry bushes
  • Clean up and organize the back left corner into a garden

Project list for front yard:

  • Landscape…everything
  • put up the other lamp
  • Hide the green ’50s stone around our front door, and cover it with fauz stone or vinyl siding
  • build a small porch over the front door
  • repair/replace the concrete sidewalk with slate or pavers
  • repair asphalt driveway

Oh! And we’re open to ideas on all of these projects, we may however limits these ideas when we start having kids 🙂 Just kidding, thanks for stopping by!

But grow in the grace and knowledge of our Lord and Savior Jesus Christ. To him be glory both now and forever! Amen. 2 Peter 3:18

The Hallway of Happiness

You think we’re kidding? Oh no, it truly is the Hallway of Happiness. Meaning everytime we walk down our hallway it makes us mucho happy. Although it’s not done done, it’s getting awefully close!

All we technically did was paint and hang some artwork and vases, but it made a huge difference. Here’s the dark and dreary before with previous owner’s stuff:

This is after two coats of primer (Bullseye 1-2-3 with white pigment), after that we needed two more coats of paint (off the shelf white, semi-gloss, Olympic).

The after!

My favorite part is how much the white molding pops against the wood floors.

Although the color looks kinda oatmeal-ish, it’s not! It really is pretty, and we both love it so much. In certain lights it has looked gray, blue and tan!

It’s a custom color, Glidden’s Sand White but only 75% of the pigment. We found that the full color was too dark but we still loved the tone.

Aren’t these vases awesome? Jimmy thinks they look like water balloons and I think they look like water droplets, both pretty sweet! Wouldn’t it be cool to have this whole wall filled with these vases. You can find them here.

 The new view from the bathroom is much better than just a blank wall. Ikea frames and $2.95 prints from a local Chocolate shop 🙂

To do list for the hallway:

  • touch up all the molding
  • hang new white 6 panel doors
  • finish our wall of flower drop vases
  • spray paint all the door knobs/hardware to Oil Rubbed Bronze
  • replace the original light with a flush mount light, this one would make the hallway feel so swanky and classic!
  • paint the attic door

Thanks for stopping by!

“But may the righteous be glad and rejoice before God; may they be happy and joyful.” Psalm 68:3

Tour de Water Closet: The Sequel

Well our tour in the bathroom is coming to a close for the time being! But the most exciting part has yet to be told. My parents and sister, Annika, came in over the weekend to help us with things that are way, way past our spectrum of knowledge. Part of this spectrum is plumbing! Both our tub faucet and sink faucet leak unfortunately, so the plan was to fix those leaks. Easier said than done, especially in a 55 year old home (as i’m quickly learning).

Once Dad and Jimmy evaluated the old copper and iron pipes they quickly found that everything was corroded to the point where it could not be repaired.

This is part of the inside of our sink faucet, how gross. We’re pretty sure it’s 55 years old, I should take a vote!

Poor Dad was in this position for 8+ that weekend! We’re sorry, please come back! Next time the project will be taste testing cookies or something :).

Well, because of the corrosion we had to totally replace the vanity, sink and faucet. Talk about making a quick decision! We had to get it done because we found that our pipes were merely days away from being completely broken, how scary. If Dad didn’t catch that we would have come home to a soaking home one day.

So we ran to Home Depot and Lowes on a hunt for a vanity. We eventually want our bathroom so feel “spa-ish” and very relaxing. Here is a bathroom that has the blue we love, crisp whites, classic yet modern lighting fixtures and those deep mocha floors.

Source from: http://www.southernliving.com/home-garden/idea-houses/southern-living-dahlonega-georgia-idea-house-00400000050744/page23.html

GORGeous I tell you. Because of budget and time limitations our choices were few but between Home Depot and Lowes these were our top picks:

  • This first one is almost a spitting image of the cabinets in the ones above, and for just $59!

  • We loved this one, although the picture above doesn’t have many modern accents, we liked how this piece reminded us of a high-end spa and it was very different than the rest.

  • Our final choice is this Allen + Roth piece, the wood color is beautiful and the sink is not your typical round, but more oblong giving it a modern feel but a classic cabinet look.

So which one did we choose? Well that’s a question that has a complicated answer. We “chose” the second one, the open look was just so different. We brought it home put it together and found out the drawer didn’t work….ugh. So we took it back, and poor Mom waited for an hour to get another one, brought it home put the base COMPLETELY together, unwrapped the sink top and it had a big chip in the corner! Now it’s Sunday morning and we decided that we didn’t want to trade price for quality and bought our second best choice, the third one.

The inside has a great space for storage and a pull-out drawer! It did not come without a challenge however, the pipe that came out of the wall was sturdy and in fairly good shape but came out at an angle and too low for our drawer. But that didn’t stop Dad and Jimmy! They had to cut into the top of the drawer to make it fit right. Someday we’ll put some molding around the pipe to hide the cuts-great idea Mom!

So that is our story. This is step one to a huge bathroom overhaul; our plans for right now are:

  • have the bathtub professionally resurfaced to make it looking brand new again
  • lay some pretty stone on our floors (marble?), most likely a dark mocha color
  • either resurface our green tile, leave it the way it is and re-grout, or tear out the tile on the walls and install beadboard halfway up the wall
  • install a new dual flush, high efficiency, elongated toilet
  • finish the closet with paint and woven baskets to hide our not so pretty to look at stuff
  • buy a new faucet for our tub
  • replace our window treatment with bamboo roman shades
  • paint!
  • add a classic and modern (is that possible?) lighting fixture
  • install a vent
  • add some pretty art or visual interest to the walls

Tour de Water Closet

Well, well the infamous outdated bathroom! Ours is definitely original to say the least but it does have a few charming details. The best original piece is the cast iron bathtub, it needs a possible resurfacing and some fresh white caulk but it does have some great curves!

This is after we did some painting, and cleaning! Let’s play reverse I Spy, what’s missing from the first picture is: all of the previous owner’s stuff, the brown framing, and the closet door!

The vanity, with quite a relic sitting on top…that leaks.

I would say that the toilet is pretty cute, although we would like to get one that is more efficient and elongated. It was actually the first thing that we updated, albeit little.

Eeewwwww! How long do you think it takes to make those kind of stains! But with our pockets $5 lighter we have this beauty…

Our second “kick-off” to bringing this bathroom into the 21st century was of course removing this guy.

Here is the curvy bathtub I was talking about, it even came with a handy hand-held sprayer.

The tub really has a classic look which we both love, but it definitely needs to be resurfaced in the future. Before taking any showers under that old shower head we ran to Bed Bath and Beyond and bought this guy:

Ahh, so much better, and bigger!

We may be taking a big leap here into territories that just aren’t natural but we took the plunge, the closet door is off!

Although it sounds crazy, we saw it here and really liked the idea. But as of right now it looks like this…

But it will get there! Someday!

We have a HUGE improvement that we did over the weekend to this bathroom. My parents and little sister drove all the way up here to help us! Jimmy and I are so blessed with family and friends that love us so much! Well that update will be appearing in the next post, Tour de Water Closet: The Sequel. Happy Tuesday!

A Painting Story: 2

We are back with more painting updates on our new house! Our Guest bedroom had a few more challenges to work through including wallpaper and mold. Here is the before with the previous owner’s furniture:

Image

The wallpaper actually came off quite easily, not too much glue was left behind.

Image

All of our walls are plaster which although is difficult to repair if we ever had a huge hole but are extremely hardy. We did one coat of Kilz stainblocker primer.

Image

What an improvement with just some primer huh?

Image

Ok so here’s the story about the color for this room. We wanted a dark but pretty gray as seen here but as we felt pressured to make a decision we googled “pretty gray paint”, picked the one that looked the best on our phones went to Home depot and bought it! Before you judge haha, ok fine you can judge. Anyway enough with the blabbing…

Image

It only has one coat, and once again hard to capture the true color, but we truly do like it in sunlight. We’re not too sure about the color at night or in artificial light. 

Image

Here is a hallway picture of the two rooms, the Master is on the left and Guest on the right. Although they look similar, which we really didn’t want, the Guest is quite a bit darker. The original color is Sherwin Williams Magnetic Gray in Satin we color matched it to an Olympic paint. 

Image

We would LOVE to do some type of treatment like beadboard or wainscoting on the walls to make our guests feel like their sleeping in something special. 🙂

Our last portion of our painting story is an inherited plant pot.

Image

Of course Nana found us some pretty flowers to put in it! Well I figured it would be prettier with some paint, it only has one coat of white primer but maybe some day it will get a bright yellow makeover.

The other pot is another one that gracefully came with the house. I’m thinking navy blue!

Image

We have lots of outdoor updates that we will post later on in the week! Thanks for reading, and commenting!